In a microservices ecosystem with frequent deployments of many disparate yet interconnected components, development teams rely on the CI/CD pipeline more heavily than ever to ensure smooth deployments. In addition to streamlining the deployment process, CI/CD remains key to test automation, serving as the central system for kicking off and running automated tests. If you have something you want to automate, you’re going to want a CI/CD pipeline.
CI stands for continuous integration, and CD stands for continuous deployment or continuous delivery. We’ll define each of these in-depth later on, but in a nutshell, CI/CD refers to automating the steps required to build, test, package, and deploy software applications via the CI/CD pipeline. CI/CD extends beyond the operations and tools included in the software release process. It also encompasses the philosophy of best practices for building and releasing software in a way that maximizes developer productivity (and sanity), increases quality, creates an audit log of all code changes, tests, and deployments, provides a fast feedback loop for iterative development, and makes rollbacks easy.
What is the CI/CD pipeline?
The CI/CD pipeline defines the steps required to build, test, and deploy software applications. The specific steps may vary depending on the type of application you are building, but they generally adhere to the following flow.

Depending on the CI/CD platform, you may define the steps in the process by inputting values into a form in the CI/CD platform’s UI, declaring the steps using the domain-specific language (DSL) of the CI/CD platform, describing the steps using declarative formats like YAML, or even writing a standalone script that performs the actions.
Your CI/CD pipeline will likely utilize more than one tool, beginning with your source code management system (SCM), but those tools must integrate so that when one tool completes a step, it can seamlessly pass the baton to the next tool in the pipeline.
What is a CI/CD platform?
A CI/CD platform is an application that manages the execution of the steps defined in the CI/CD pipeline in order to take code from a source code management system, such as GitHub or BitBucket, and get it into production. Think of it as a control plane for everything you need to do to release new code. You define the operations and execution order in your CI/CD pipeline, and your CI/CD platform pulls the levers to make it happen automatically.
According to the ranking of CI/CD tools and platforms in Postman’s 2022 State of the API Report, 50% of respondents use GitHub Actions, followed by Jenkins at 36%, and GitLab at 28%. Some other CI/CD vendors you may have heard of include CircleCi, Bamboo, and TeamCity. Public cloud providers also offer solutions like AWS CodePipeline and Azure Pipeline.
Architect is a dependency-aware deployment platform that integrates with any CI/CD platform to manage deployments to multiple environments, including creating preview environments with proposed code changes and spinning up dependent components automatically.
What is continuous integration?
The CI in CI/CD stands for continuous integration and involves frequent merges to a mainline branch, automated builds, and automated tests. When a software team employs continuous integration, developers commit code daily, sometimes multiple times per day, to a shared mainline repository, such as the main branch of a GitHub repository. Regular, small code changes greatly simplify root cause analysis when a bug is detected. However, fewer bugs make it into production with CI because each commit triggers a set of automated tests, namely unit tests, since the code is automatically built with CI but not automatically deployed at this point in the CI/CD pipeline. That comes later.
It was once commonplace to wait and integrate a large number of code changes all at once when ready to cut a release for production. In fact, you only merged code changes with the mainline branch on “the build machine.” Developers really didn’t know whether there would be conflicts until they completed their code. The final leg of the software delivery process was a QA engineer’s nightmare, fraught with merge issues and bug regressions. Continuous integration solves these problems by giving individual developers the ability to pull the mainline branch into their development branch regularly and to merge their development branch into the mainline branch daily.
What is CD?
The CD in CI/CD can stand for continuous delivery or continuous deployment, and you may hear people use the terms interchangeably, but there is a distinction. They both pertain to deploying code, and the major difference between the two is that continuous delivery requires a manual step while continuous deployment is completely automated.
What is continuous delivery?
Continuous delivery is the practice of taking code that has been through continuous integration and packaging it so that it is ready to be deployed to production at any time. This includes new features, bug fixes, and configuration changes. Continuous delivery eliminates the need for a code freeze, dev complete, or hardening phase.
With continuous delivery, the mainline branch is kept pristine and ready to be deployed to production at any time. The deployment process is automated, so you can launch it with the click of a button. Continuous delivery usually includes deploying to testing and/or staging environments and running additional automated and manual tests. These tests all run against the deployed code vs. the unit tests that run at the CI stage of the pipeline. Teams that utilize continuous delivery may schedule releases periodically rather than push changes to production daily or even push every change immediately but require a manual approval step rather than deploy the changes automatically.
What is continuous deployment?
Continuous deployment includes all aspects of continuous delivery and adds the requirement that each code change that passes through all stages of the pipeline successfully is automatically deployed to production with no manual intervention. Your CI/CD pipeline should deploy your code to a testing or staging environment to run further tests, just as with continuous delivery. However, you must automate all your tests, and deployment to production should be triggered automatically once the tests are complete. Continuous deployment requires rigorous test automation that is kept up-to-date with each code change since there is no final manual QA stage, and a failed test is the only thing standing in the way of pushing your code to prod.
Continuous deployment may seem like riding a bicycle while letting go of the handlebars, but practices like blue-green deployments, feature flags, and testing in production provide additional safeguards. Plus, a solid CI/CD pipeline will include the ability to perform a rollback in case something unexpected happens.
The CI process
CI includes everything that happens before new code changes get merged into the mainline branch. The following provides an overview of a fully formed CI process.
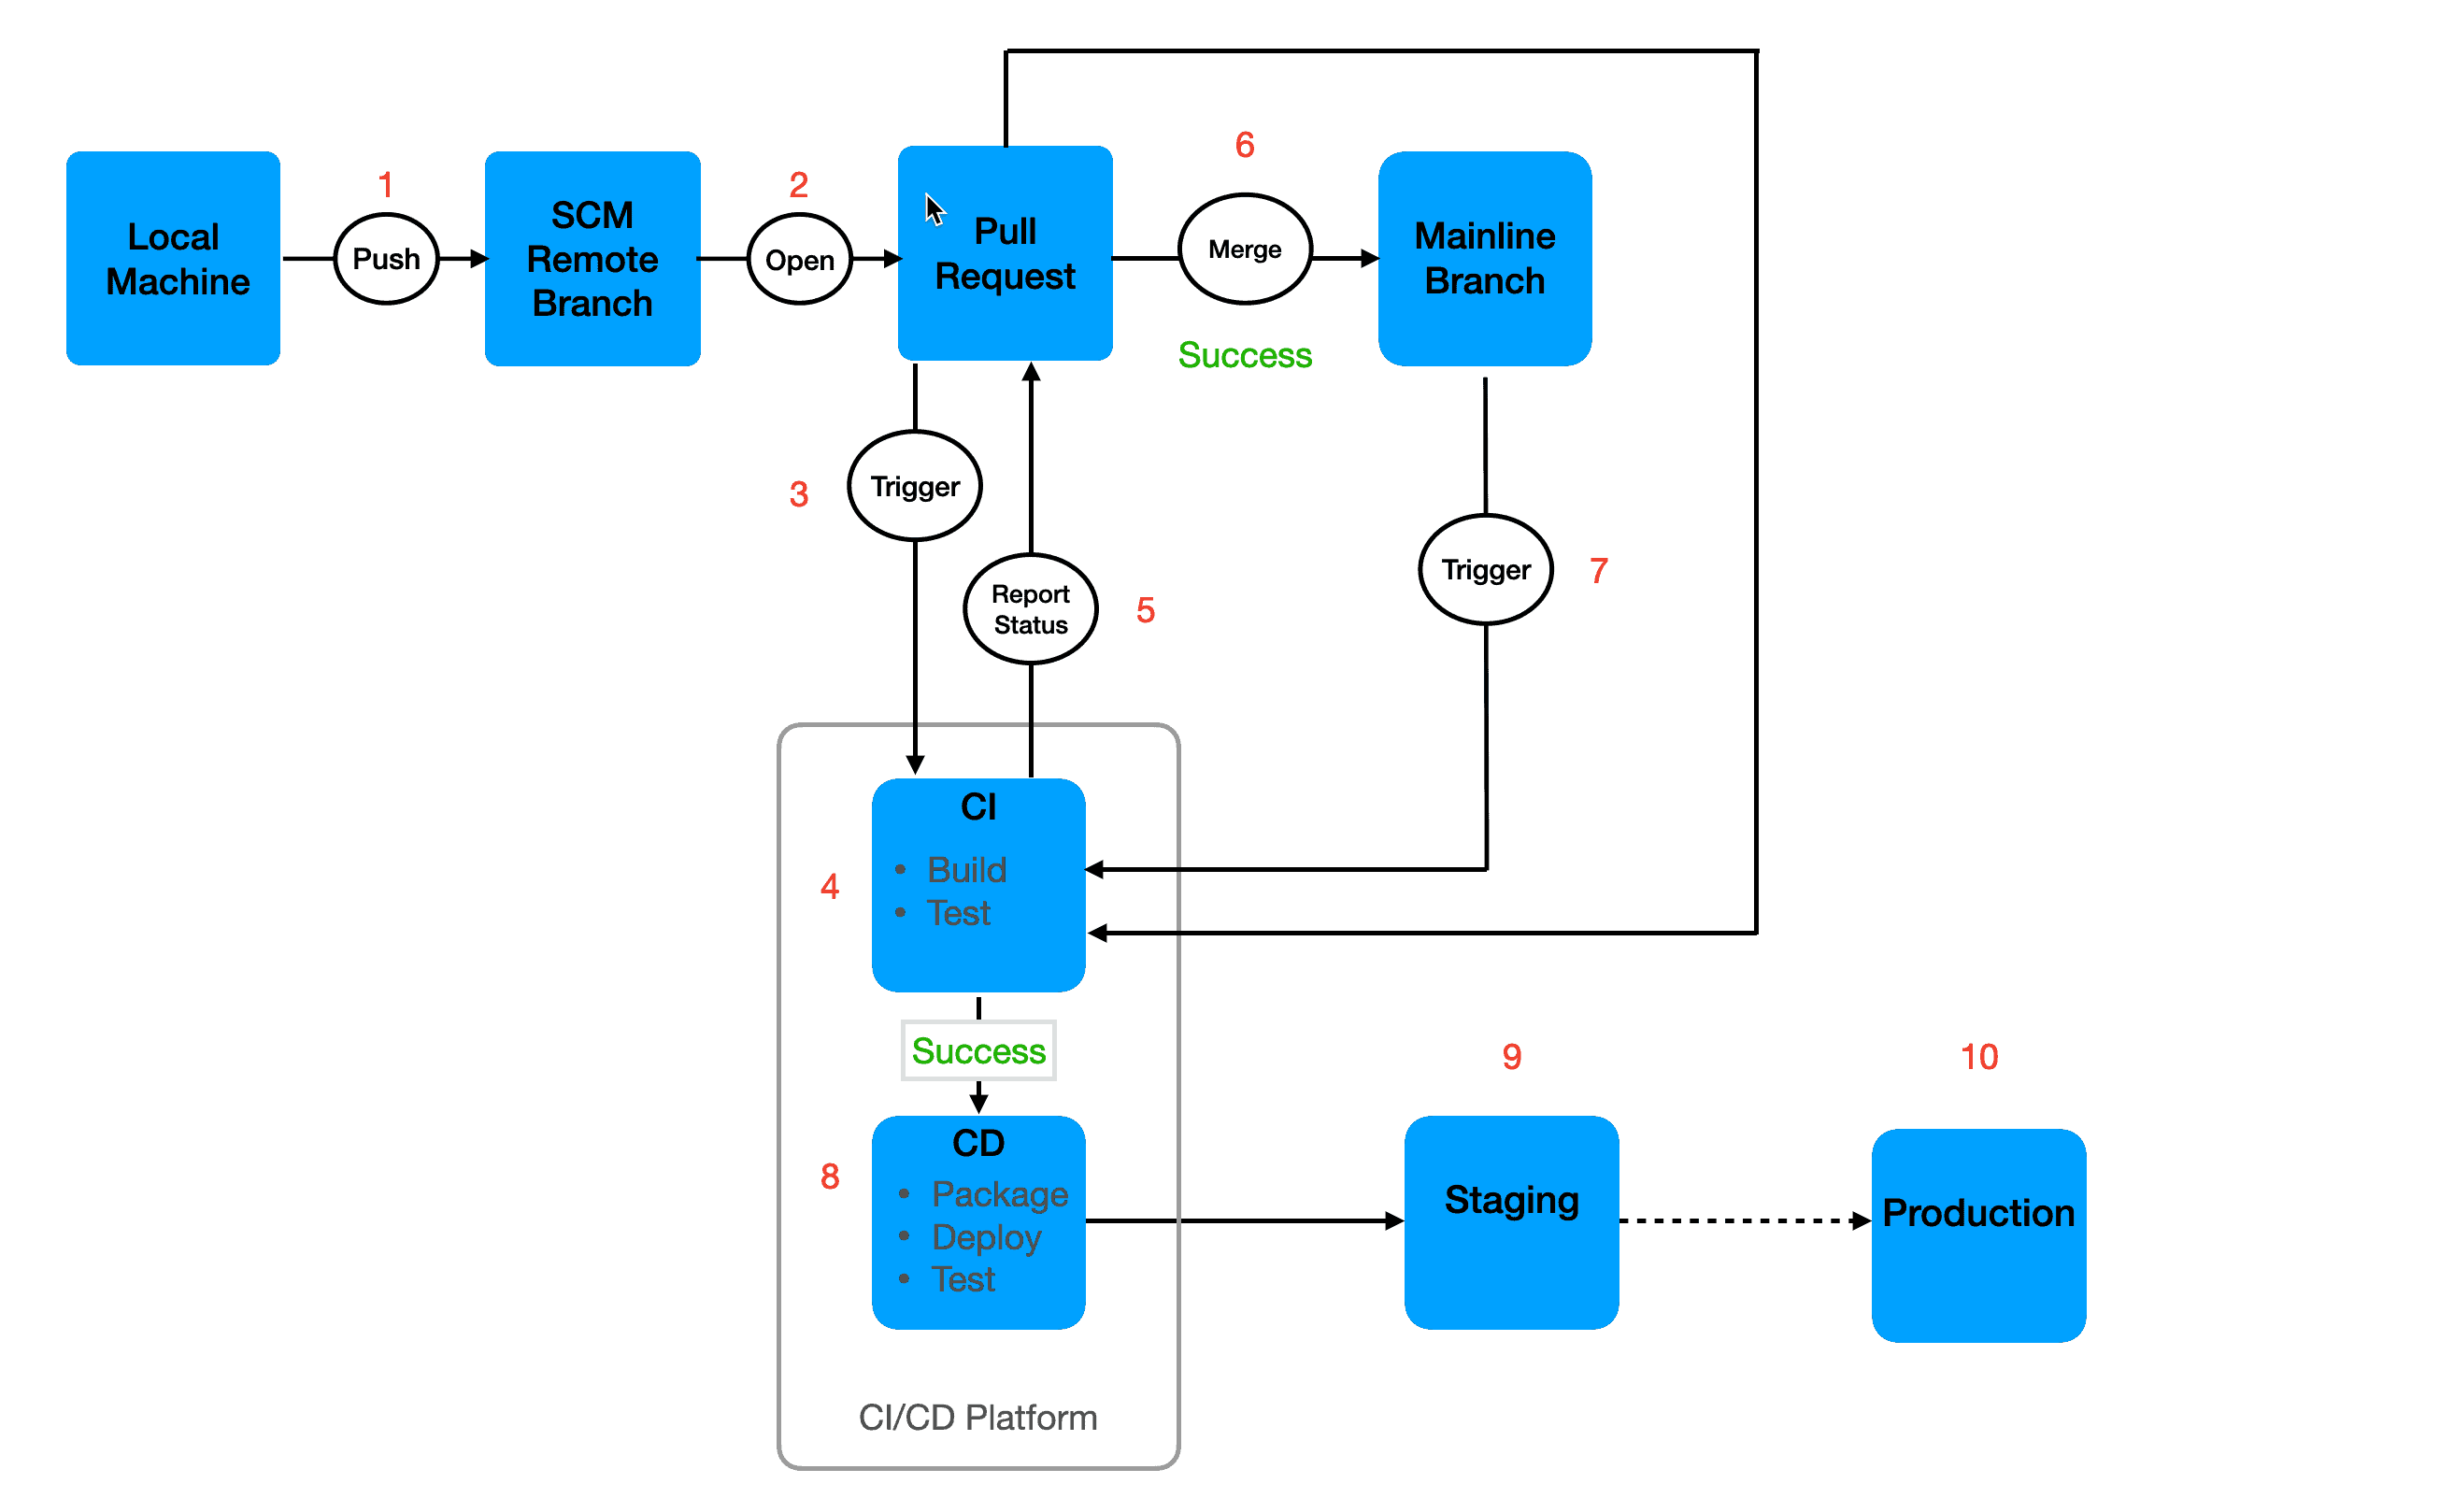
Now that you have a picture of where we’re going, let’s break it down and talk about how to enforce these best practices.
Developer’s local machine
Good habits for continuous integration start on your local development machine. When you work on a new feature or bug fix, you should create a new local branch from the mainline branch and make the necessary code changes on your local branch rather than directly on the mainline branch. While working locally, it is important to regularly fetch changes from the mainline branch and merge them into your local branch to prevent your branch from getting too far out of sync.
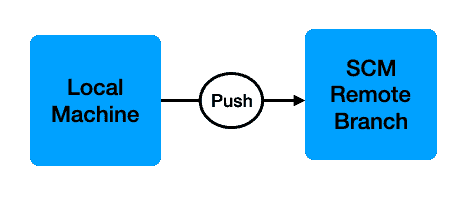
Once code changes are complete, push the local branch to your source code management system for review.
Source Code Management (SCM)
Your source code management system plays a critical role in continuous integration by triggering the entire CI/CD pipeline. It is a gatekeeper with the power to block code commits to the mainline branch and deployments to production.
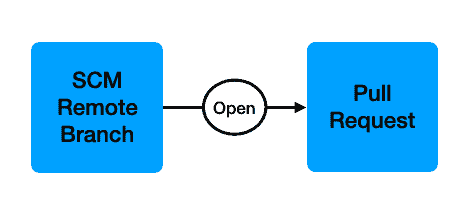
Once you push your branch from your local machine to your SCM, you will open a Pull Request (PR), indicating that you want your changes merged into the mainline branch. You can require that other quality checks succeed before merging code. We’ll discuss those later in this post.
CI/CD platform
Once you open a PR, your SCM sends a notification to your CI/CD platform, or your CI/CD platform may periodically scan your SCM for new PRs. Once your CI/CD platform is aware of the PR, it begins running the steps defined in your CI/CD pipeline. Your CI/CD platform builds and tests the code in the PR and notifies your SCM whether or not the tests are successful. With proper branch protection for your mainline branch, your SCM blocks the PR from being merged if the tests fail or if the PR fails other quality checks.
A change to the PR, perhaps to fix a failed test or address comments in a code review, should trigger your CI/CD platform to repeat the quality check process. Of course, you’ll need to configure this bidirectional communication between the two systems.
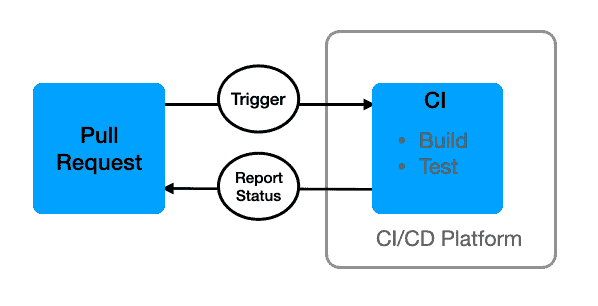
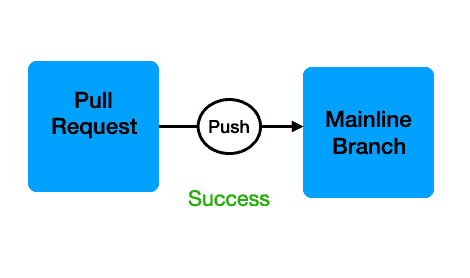
This cycle continues until all quality checks succeed, at which time you may merge the PR into the mainline branch. You have then accomplished continuous integration.
The CD process
Once the CI process completes, the application is automatically deployed to a testing and/or staging environment for further testing. Additional testing, such as integration and end-to-end testing, takes place. This exercise also tests your deployment process, a critical component for reliably releasing software. Once these steps succeed, your CI/CD pipeline may automatically push your application to production, giving you continuous deployment.
You may, however, require a manual approval process or decide to deploy on a regular cadence rather than automatically release each commit. You may have business requirements that make this a better choice for your team, or perhaps you don’t have enough automated tests to safely push releases to production automatically. That’s ok! You’ve accomplished continuous delivery, and your deployment process is automated and ready to go with the click of a button.
Communication in the CI/CD pipeline
The process described above only works if your SCM and CI/CD platform can communicate. When using Git for SCM and GitHub Actions for CI/CD, bidirectional communication comes built-in. However, with other SCMs and CI/CD platforms, you will need to perform additional steps to integrate the two systems. Most systems support webhooks, and some CI/CD platforms can poll your SCM to find out if you have opened any new pull requests.
Protect your branch
So how do you set up your CI/CD pipeline to implement the process we’ve just described? You’ll do this by setting some branch protection rules for your mainline branch. We’ll walk you through how to do this using Git and GitHub Actions, but most source control management systems and CI/CD platforms will support these options.
You configure GitHub to block PRs from being merged until all tests have passed by setting up branch protection rules. To access these rules, go to a GitHub repository to which you have Admin access, and go to the Settings tab in the navigation at the top.

From there, click the Branches link in the left-hand nav bar. The first thing to note is the default branch, which is the mainline branch that gets pushed to production. GitHub uses the main branch it established when you first created the repository as the default branch unless you change it.
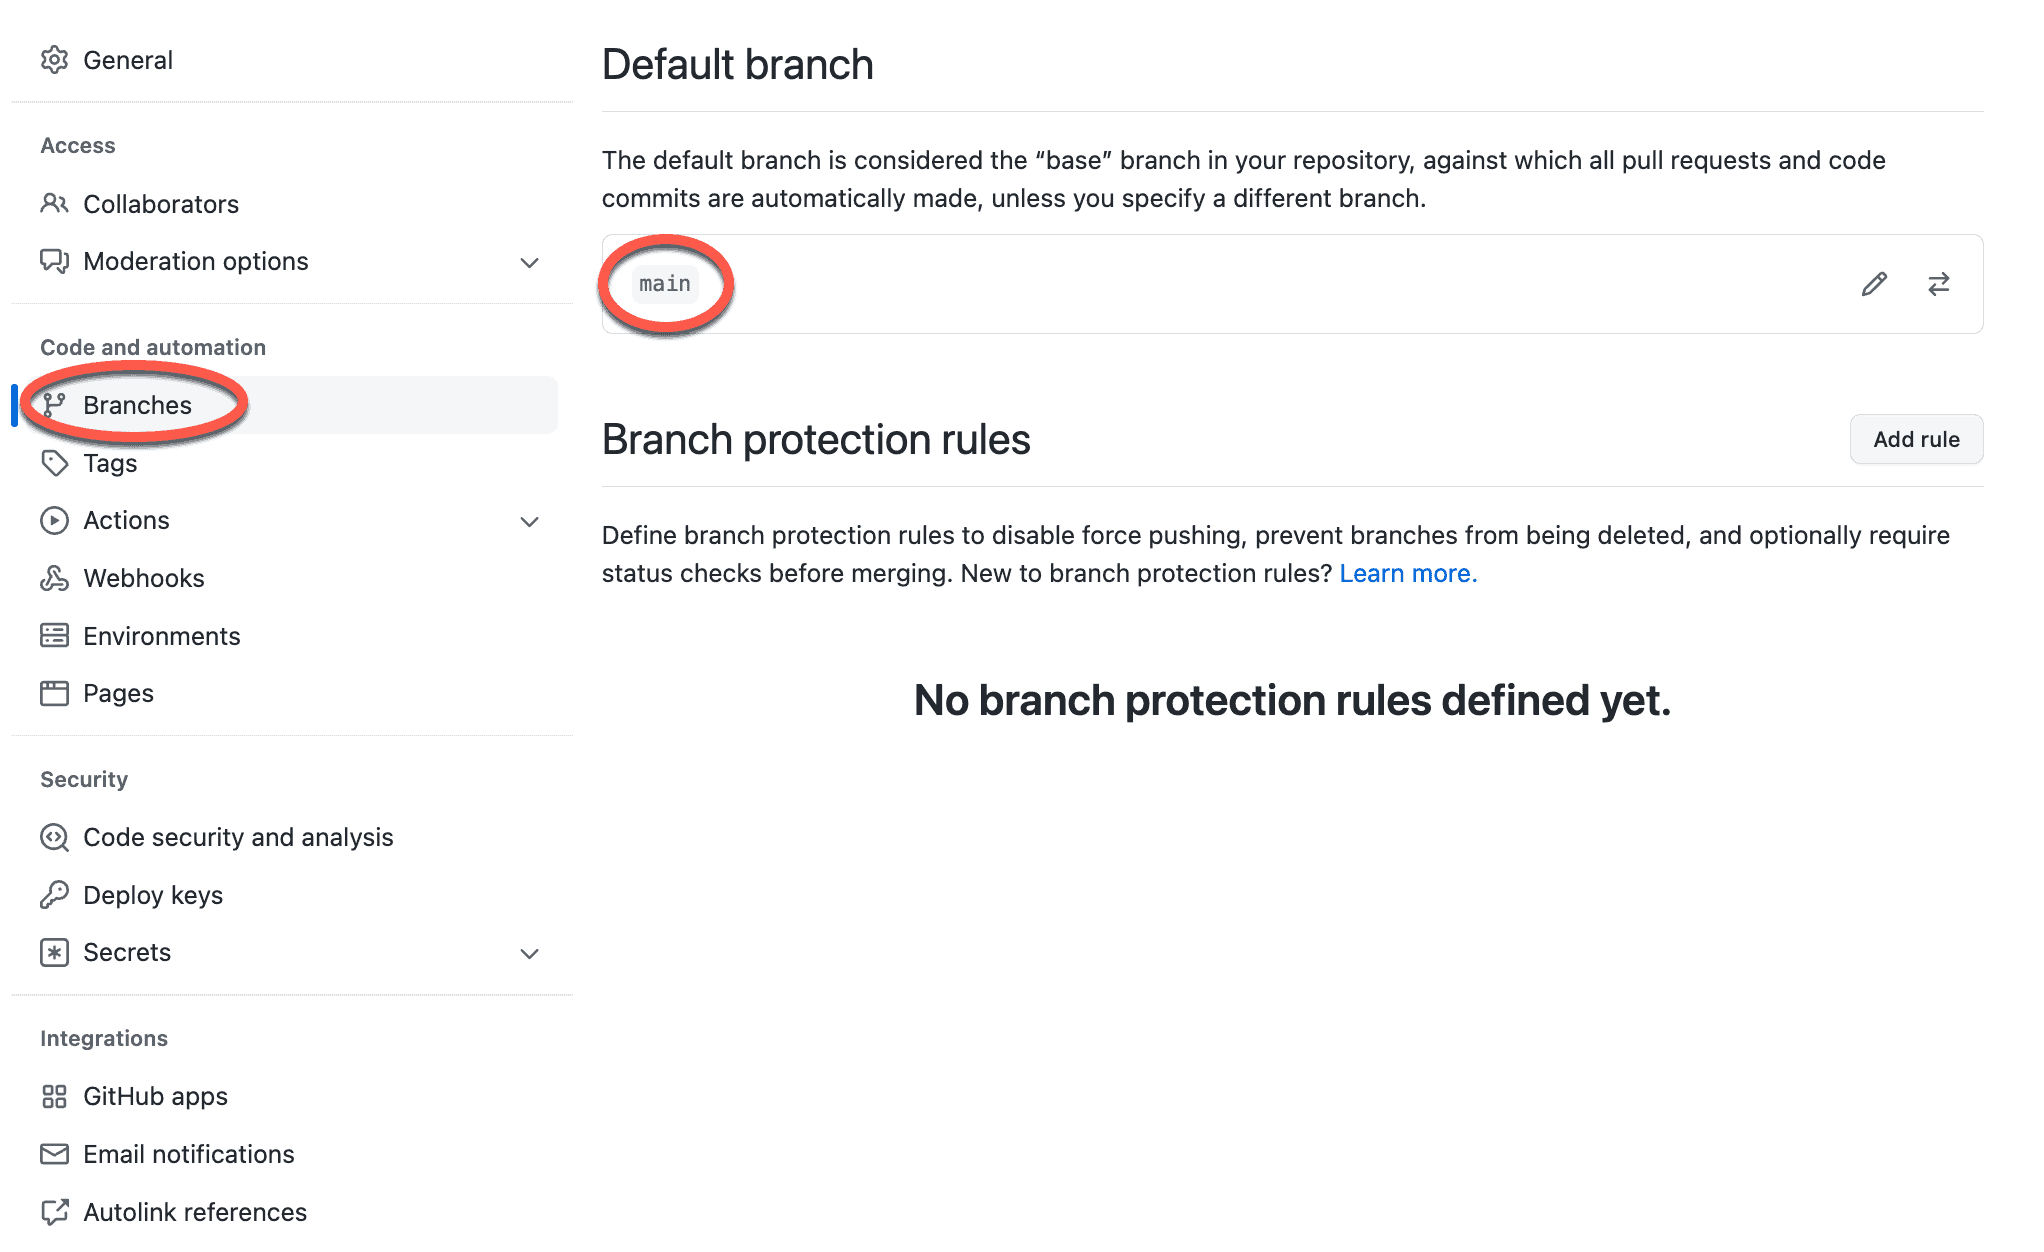
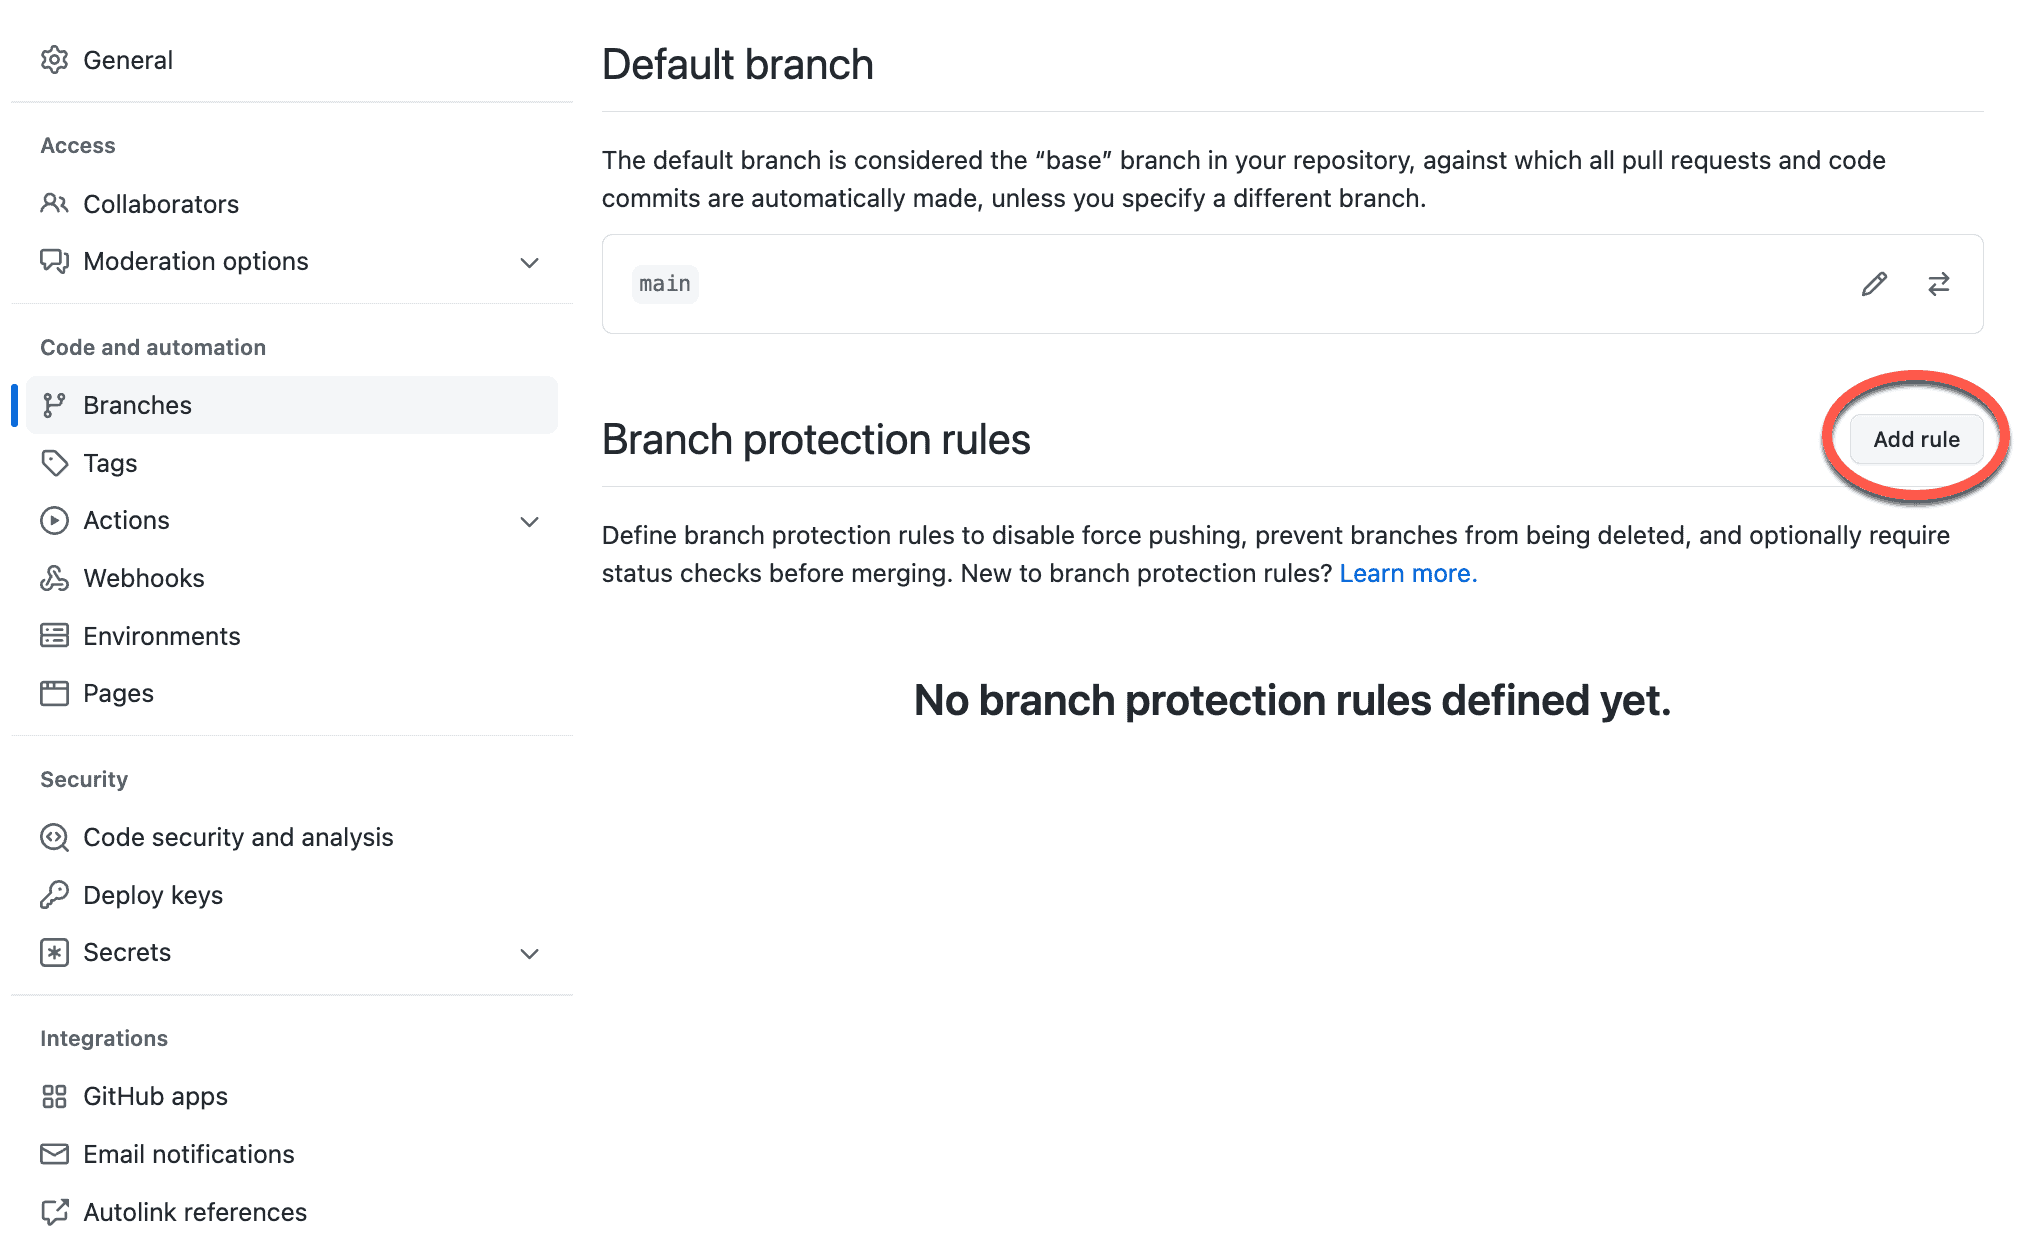
You can see that initially there are no branch protection rules defined for the repo, but we’re going to fix that. Click the Add Rule button, and follow the steps below to add some best practice protection rules to your repo.
1. Require a pull request before merging
The first thing you’ll want to do is require a pull request before merging code changes. This rule ensures that no one can push code directly to your mainline branch. Instead, you create a new branch locally, push that branch to your GitHub account, and then open a pull request asking for permission to merge into main, or whatever branch you set at your mainline. GitHub will then create another new branch from the mainline, merge in the code changes from your branch, and run other configured quality checks, which we will discuss further in a bit.

2. Require approvals
Once you have enforced pull requests before merging code to the main branch, check the box to require approvals. Once selected, you can configure the required number of approvals. Another developer should approve the pull request only after thoroughly reviewing the code changes, accounting for architectural considerations, language idioms, integration concerns, and blatant code defects.

3. Require status checks to pass before merging
In addition to requiring pull requests and approvals, you should configure status checks that must pass before merging is allowed. Once you have checked this box, you can add the quality checks discussed below.

4. Require branches to be up to date before merging
As mentioned previously, part of good CI hygiene includes pulling changes from the mainline branch to your local development machine regularly to ensure your branch doesn’t get too far out of sync. You should select this status check in your branch protection rule to help enforce this practice. This check prevents anyone from merging a pull request until the branch is up to date.

5. Add required status checks
In this next section, you will add custom rules that ensure your automated tests pass before you can merge pull requests. You’ll first need a CI/CD pipeline that includes the steps to trigger the automated tests, such as the following example for GitHub Actions.
# Based on https://github.com/actions/starter-workflows/blob/main/ci/node.js.yml
name: CI
on:
   pull_request:
    branches: [ $default-branch ]
jobs:
  ci:
    runs-on: ubuntu-latest
    steps:
      - uses: actions/checkout@v2
      - uses: actions/setup-node@v2
        with:
          node-version: lts/*
          cache: 'npm'
      - run: npm ci
      - run: npm run build --if-present
      - run: npm test
The steps above reside in a file called ci.yml in the .github/workflows directory of a Git repository. GitHub automatically triggers these steps when anyone opens a pull request against the mainline branch. You can modify the on: block to include other actions to trigger these steps, such as when someone merges the pull request. You’ll likely want to change the tests that are run at this time to include a more extensive test set. The steps themselves set up a runner with prerequisites and then run the tests in a Node.js project.
Once you have a CI/CD pipeline that triggers automated tests, you can add a status check to your branch protection rules to block PR merges unless your tests succeed. In this example, we add a status check named ci, which matches the name applied to the job in the job block in the GitHub Actions steps above. Git automatically selects “GitHub Actions” in the drop-down list to the right, but you can change this to “any source” if you use a different CI/CD platform.

6. Do not allow bypassing the above settings
The final must-have status check we recommend for a solid CI configuration is “do not allow bypassing the above settings,” also known as “everyone plays by the rules.” This rule means that even if you are an admin on the repository, you, too, must wait for all status checks to pass before you can merge a PR. Of course, there are exceptions where it makes sense to merge a pull request even if one of the status checks fails, but you can always uncheck the setting for a one-off exception rather than leaving the repo wide open.

We didn’t cover all the built-in status checks in GitHub, but we’ve included the ones most critical to a sound CI process. If you implement these, you’ll be in great shape.
And finally, deploy your branch
Follow the branch protection configuration we’ve described, and your mainline branch is always ready for deployment. Configure your CI/CD pipeline to deploy continuously, on a set schedule, or manually with the push of a button. For help developing your app locally, running it in a preview environment, or deploying to a Kubernetes cluster hosted by any public cloud provider, sign up for a free Architect account and give it a spin.
Want to learn more development best practices? Check out these other blog posts from Architect:

Add your thoughts