Web applications are a crucial part of the global digital landscape. Source code hosting and version control, container and cloud technology, and more have pushed application development to great heights. Web applications are now faster, lighter, more stable, and easier to build and manage.
Using source code hosting and version control offered by platforms like GitHub and BitBucket allows developers to collaborate easily anywhere in the world. These solutions provide a seamless opportunity to work on the same project or code simultaneously.
Kubernetes
Container technology such as Docker enables developers to build applications, package the applications into containers, and run the containers on different platforms and environments. A container is a “build once, run anywhere” concept. When a team or organization has many containers to manage in a system, they use container orchestrators like Kubernetes to deploy, run, and manage them with automation. Kubernetes is an open-source project that started in-house at Google and is the most popular container orchestration platform today. With Kubernetes, you can set up, run, manage, maintain, and scale containerized applications with ease.
Django
Django is an open-source web development framework prevalent in the Python ecosystem. It favors the rapid building of scalable and secure web applications. It powers some popular platforms like Instagram, DropBox, and Spotify. Django’s modular format enables the speedy development of reusable components. It works with the model-view-controller (MVC) architecture to help separate data and business logic.
Architect
Architect is a cloud-native platform that enables you to rapidly deploy your projects with Kubernetes while providing continuous delivery and security. CI/CD provided by Architect and other CI/CD tools help automate the processes involved in deploying and releasing software. Automation helps to ship out applications to users faster and more frequently. This article shows you how to set up Architect to deploy a Django application with Kubernetes.
Deploy Django on Kubernetes
This section provides a hands-on, step-by-step guide accompanied by code to deploy your Django web application to a Kubernetes cluster using Architect.
Prerequisites
To follow this tutorial, you need:
- An Architect account. You can create an Architect account for free if you don’t have one already
- A GitHub Account
- The Architect CLI. See the installation guide for instructions
- A Kubernetes cluster running in a public cloud such as AWS, GCP, or Azure
Components, clusters, and environments
An Architect component defines the services of your application stack that you want to be deployed together, for example, an API and a database. Using the Architect CLI, you can register your component locally or in the Architect cloud.
You can add your own Kubernetes cluster from a public cloud provider or use the one provided by the Architect cloud.
Environments are distinct entities where you deploy a component on a cluster. You can create free environments on the Architect cloud.
The architect.yml file
This tutorial uses the Django starter project built by Architect, which is hosted on GitHub and available in the Architect UI. There are also starter projects for Flask, Nuxt, React, and other frameworks. Each project contains an architect.yml file in the root-level directory. This is a mandatory file containing configuration specifications necessary to use Architect to deploy your application. The file for the Django starter project includes the Django project secrets, database configuration settings, Kubernetes ingress settings, and Django-specific settings.
The configuration is defined in a declarative manner, utilizing service discovery, so your component can be built once and promoted all the way to production with no code or configuration changes.
name: django

# Add secrets to be used by different services. For more information:
# https://docs.architect.io/deployments/secrets/
secrets:
  django_secret_key:
    default: warning-override-for-production
  postgres_password:
    default: warning-override-for-production
  db_user:
    description: Root user to assign to the component's DB
    default: architect
  db_pass:
    description: Root password to assign to the component's DB
    default: secret
  db_name:
    description: Name of the DB the component will store content in
    default: app-db
  db_port:
    description: Port for the db
    default: 5432

# Below are the configured services for the Django component. Note that the actual
# Django application we're working on is defined as a service on line 37
# For more info - https://docs.architect.io/components/services/
services:
  app-db:
    image: postgres:12
    interfaces:
      database:
        port: ${{ secrets.db_port }}
        protocol: postgresql
    environment:
      POSTGRES_USER: ${{ secrets.db_user }}
      POSTGRES_PASSWORD: ${{ secrets.db_pass }}
      POSTGRES_DB: ${{ secrets.db_name }}
    liveness_probe:
      command: pg_isready -d ${{ secrets.db_name }} -U ${{ secrets.db_user }}
      interval: 10s
      failure_threshold: 3
  app:
    depends_on:
      # We want our app to start up after the db is running so that we can connect to it on startup!
      # This block contains a list of services we need to start before 'app' starts.
      - app-db
    # Build context is the location of your application relative to the architect.yml file
    build:
      context: .
    command: |
      sh -c '
        python manage.py migrate --noinput
        python manage.py createsuperuser --noinput
        uwsgi --http "0.0.0.0:8000" --module movies.wsgi:application --master --processes 4 --threads 2
      '
    interfaces:
      main:
        port: 8000
        # ingresses are used to expose the application to the gateway, allowing
        #   other services and dependencies to connect to it.
        #   For more info - https://docs.architect.io/components/interfaces/
        ingress:
          subdomain: app
    # The liveness_probe makes sure the application is healthy - if not, it will re-start the application
    liveness_probe:
      command: curl --fail 0.0.0.0:8000
      interval: 10s
      failure_threshold: 3
    # Set environment variables for your application here
    environment:
      ALLOWED_HOST: .${{ services.app.interfaces.main.ingress.host }}
      SECRET_KEY: ${{ secrets.django_secret_key }}
      POSTGRES_DB: ${{ services.app-db.environment.POSTGRES_DB }}
      POSTGRES_USER: ${{ services.app-db.environment.POSTGRES_USER }}
      POSTGRES_PASSWORD: ${{ services.app-db.environment.POSTGRES_PASSWORD }}
      POSTGRES_HOST: ${{ services.app-db.interfaces.database.host }}
      POSTGRES_PORT: ${{ services.app-db.interfaces.database.port }}
    # Debug block is used to enable hot-reloading to make real-time changes to an
    #   application while running `architect dev`. For more info, see -
    #   https://docs.architect.io/components/local-configuration/#hot-reloading
    debug:
      liveness_probe:
        initial_delay: 15s
      command: |
        sh -c '
          python manage.py migrate --noinput
          python manage.py runserver 0.0.0.0:8000
        '
      environment:
        ALLOWED_HOST: "*"
        DEBUG: "True"
      volumes:
        app:
          host_path: .
          mount_path: /usr/src/app
Create a Django component
Follow these steps to create a new component using the Architect UI.
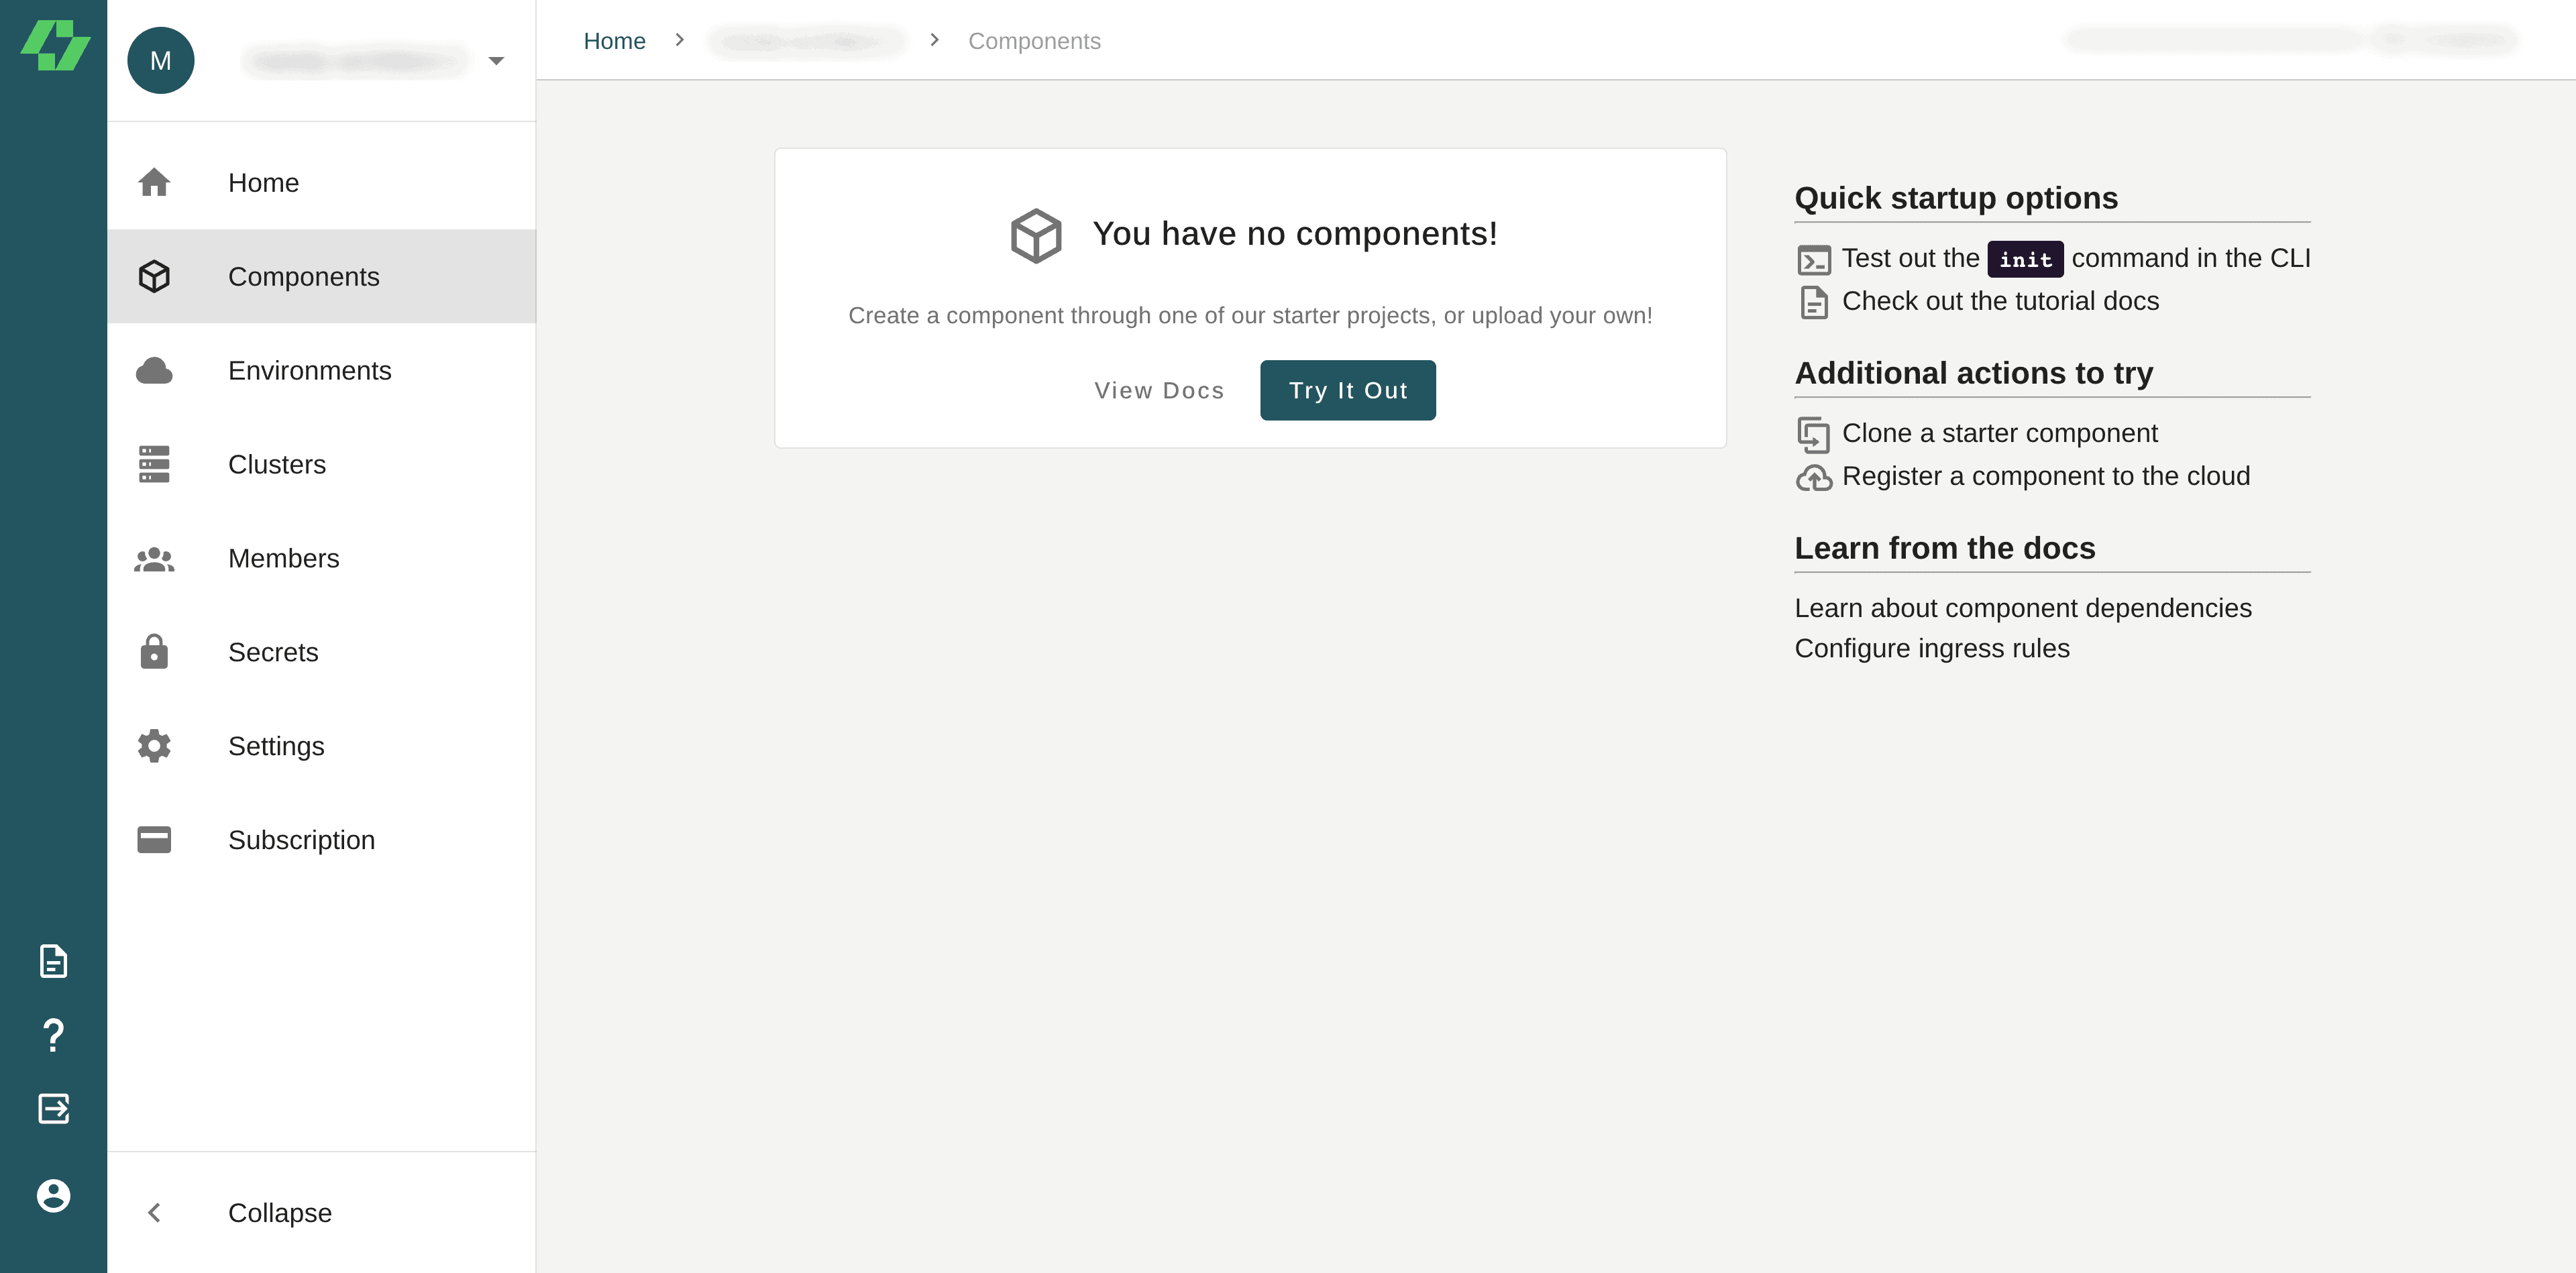
1. Navigate to the Component menu on your dashboard, as shown below. Click Try It Out
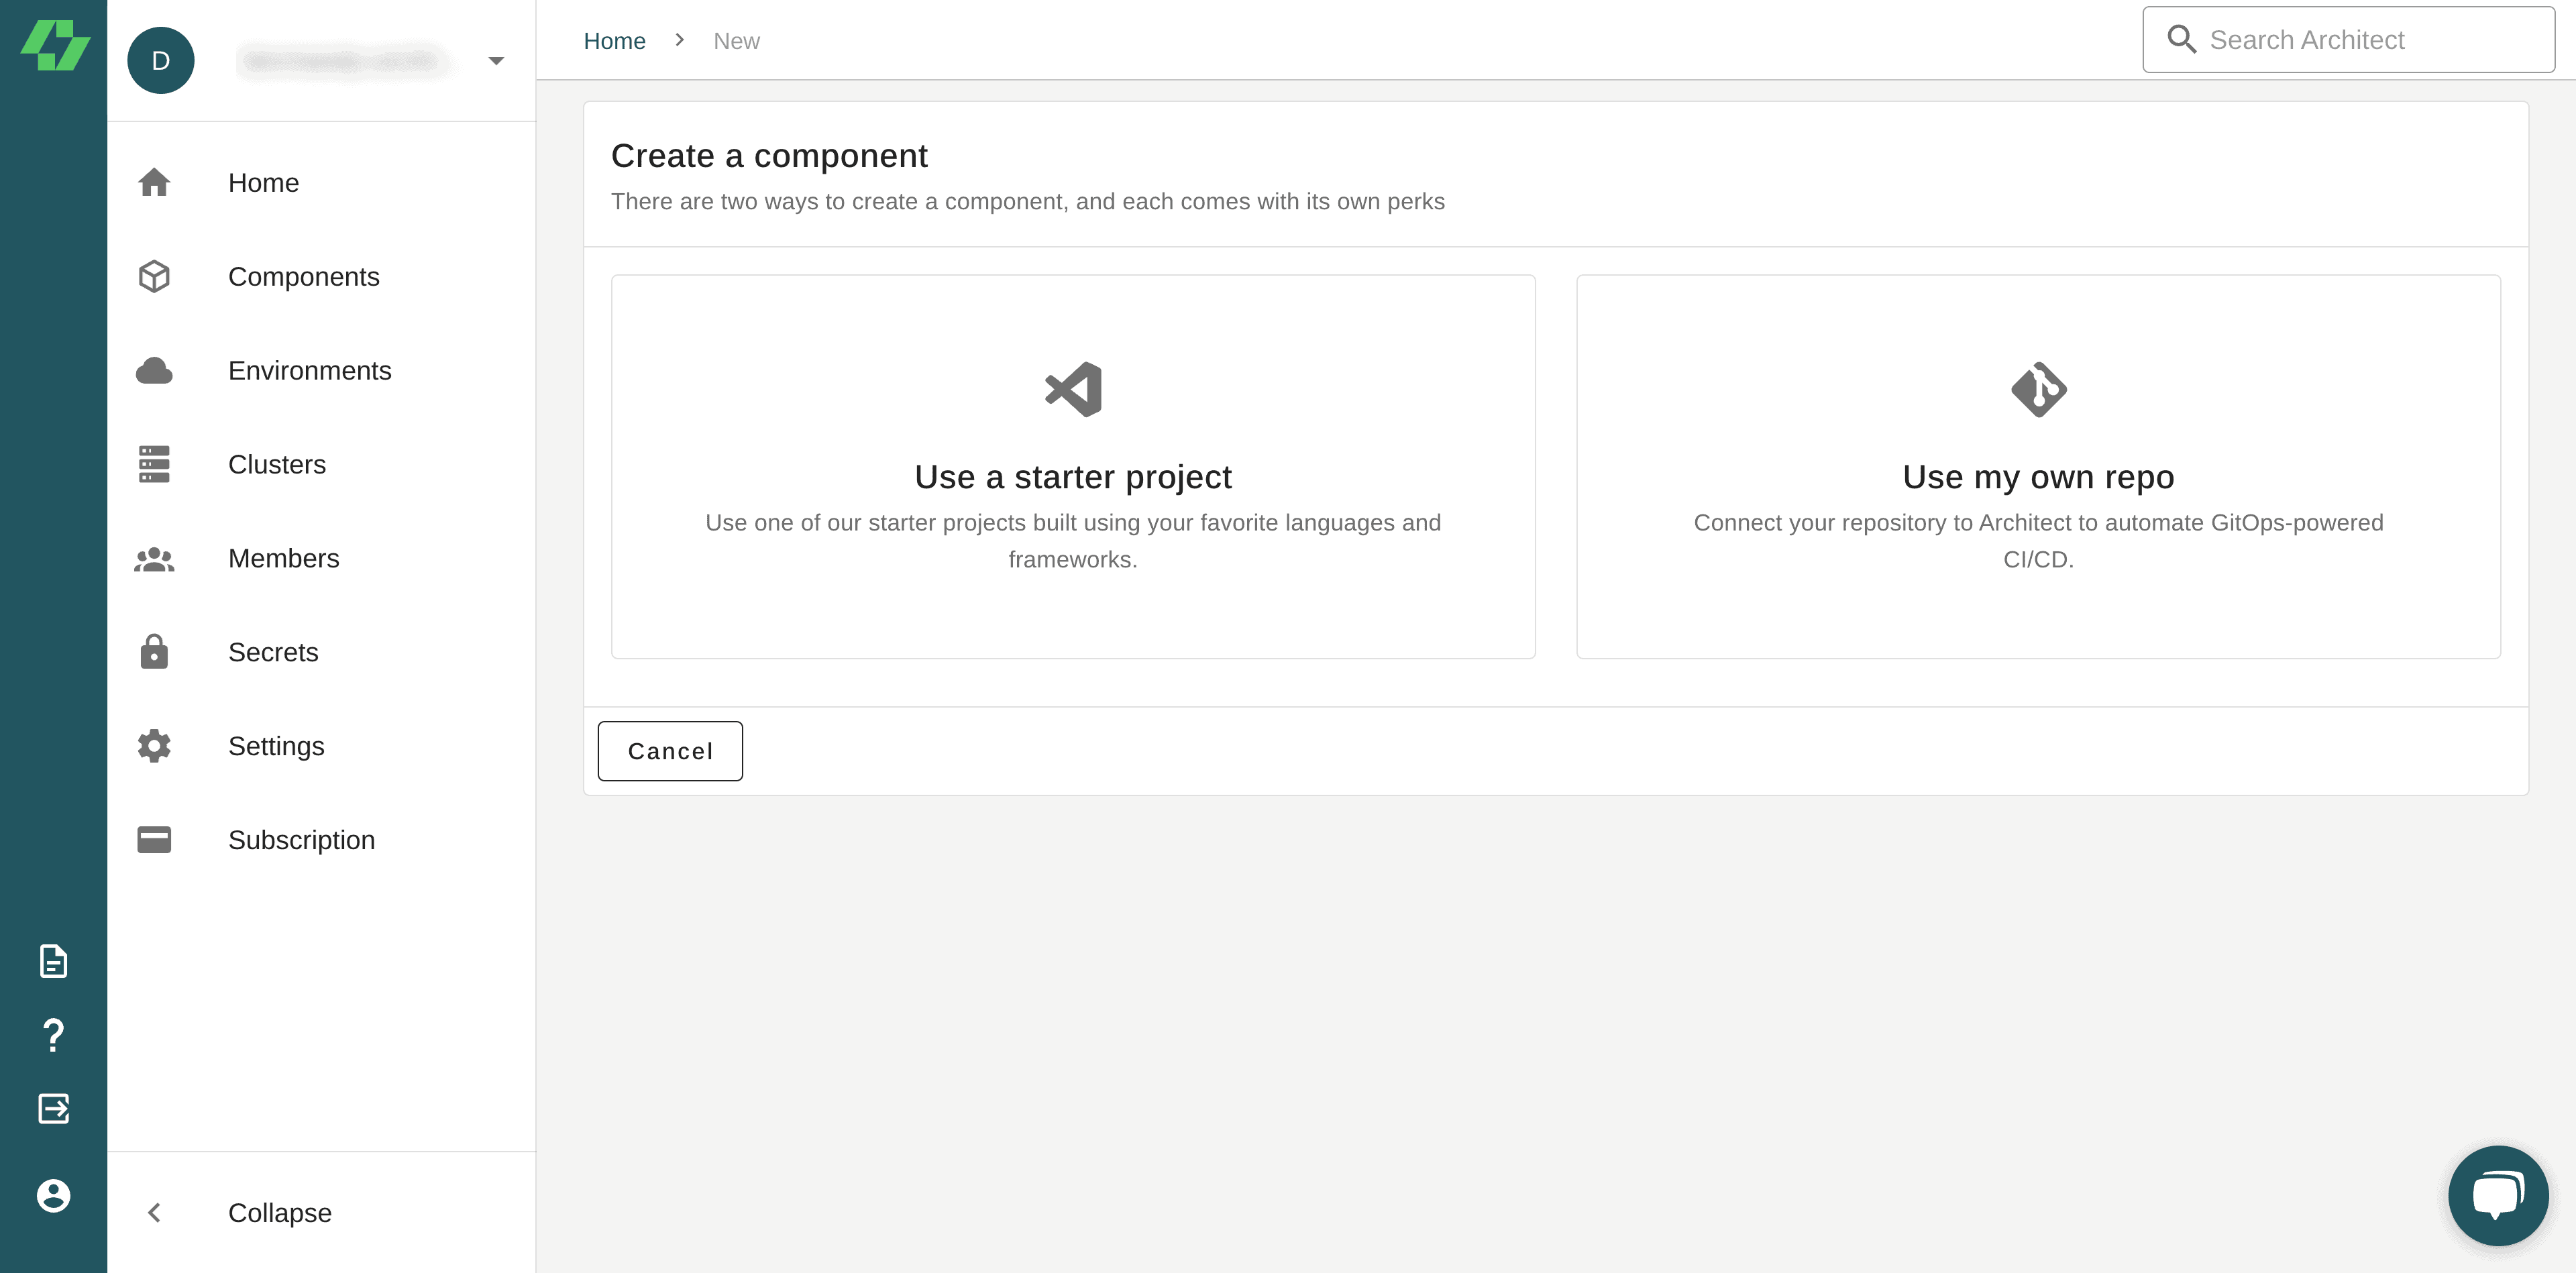
2. Click Use a starter project
3. Click on the django starter project
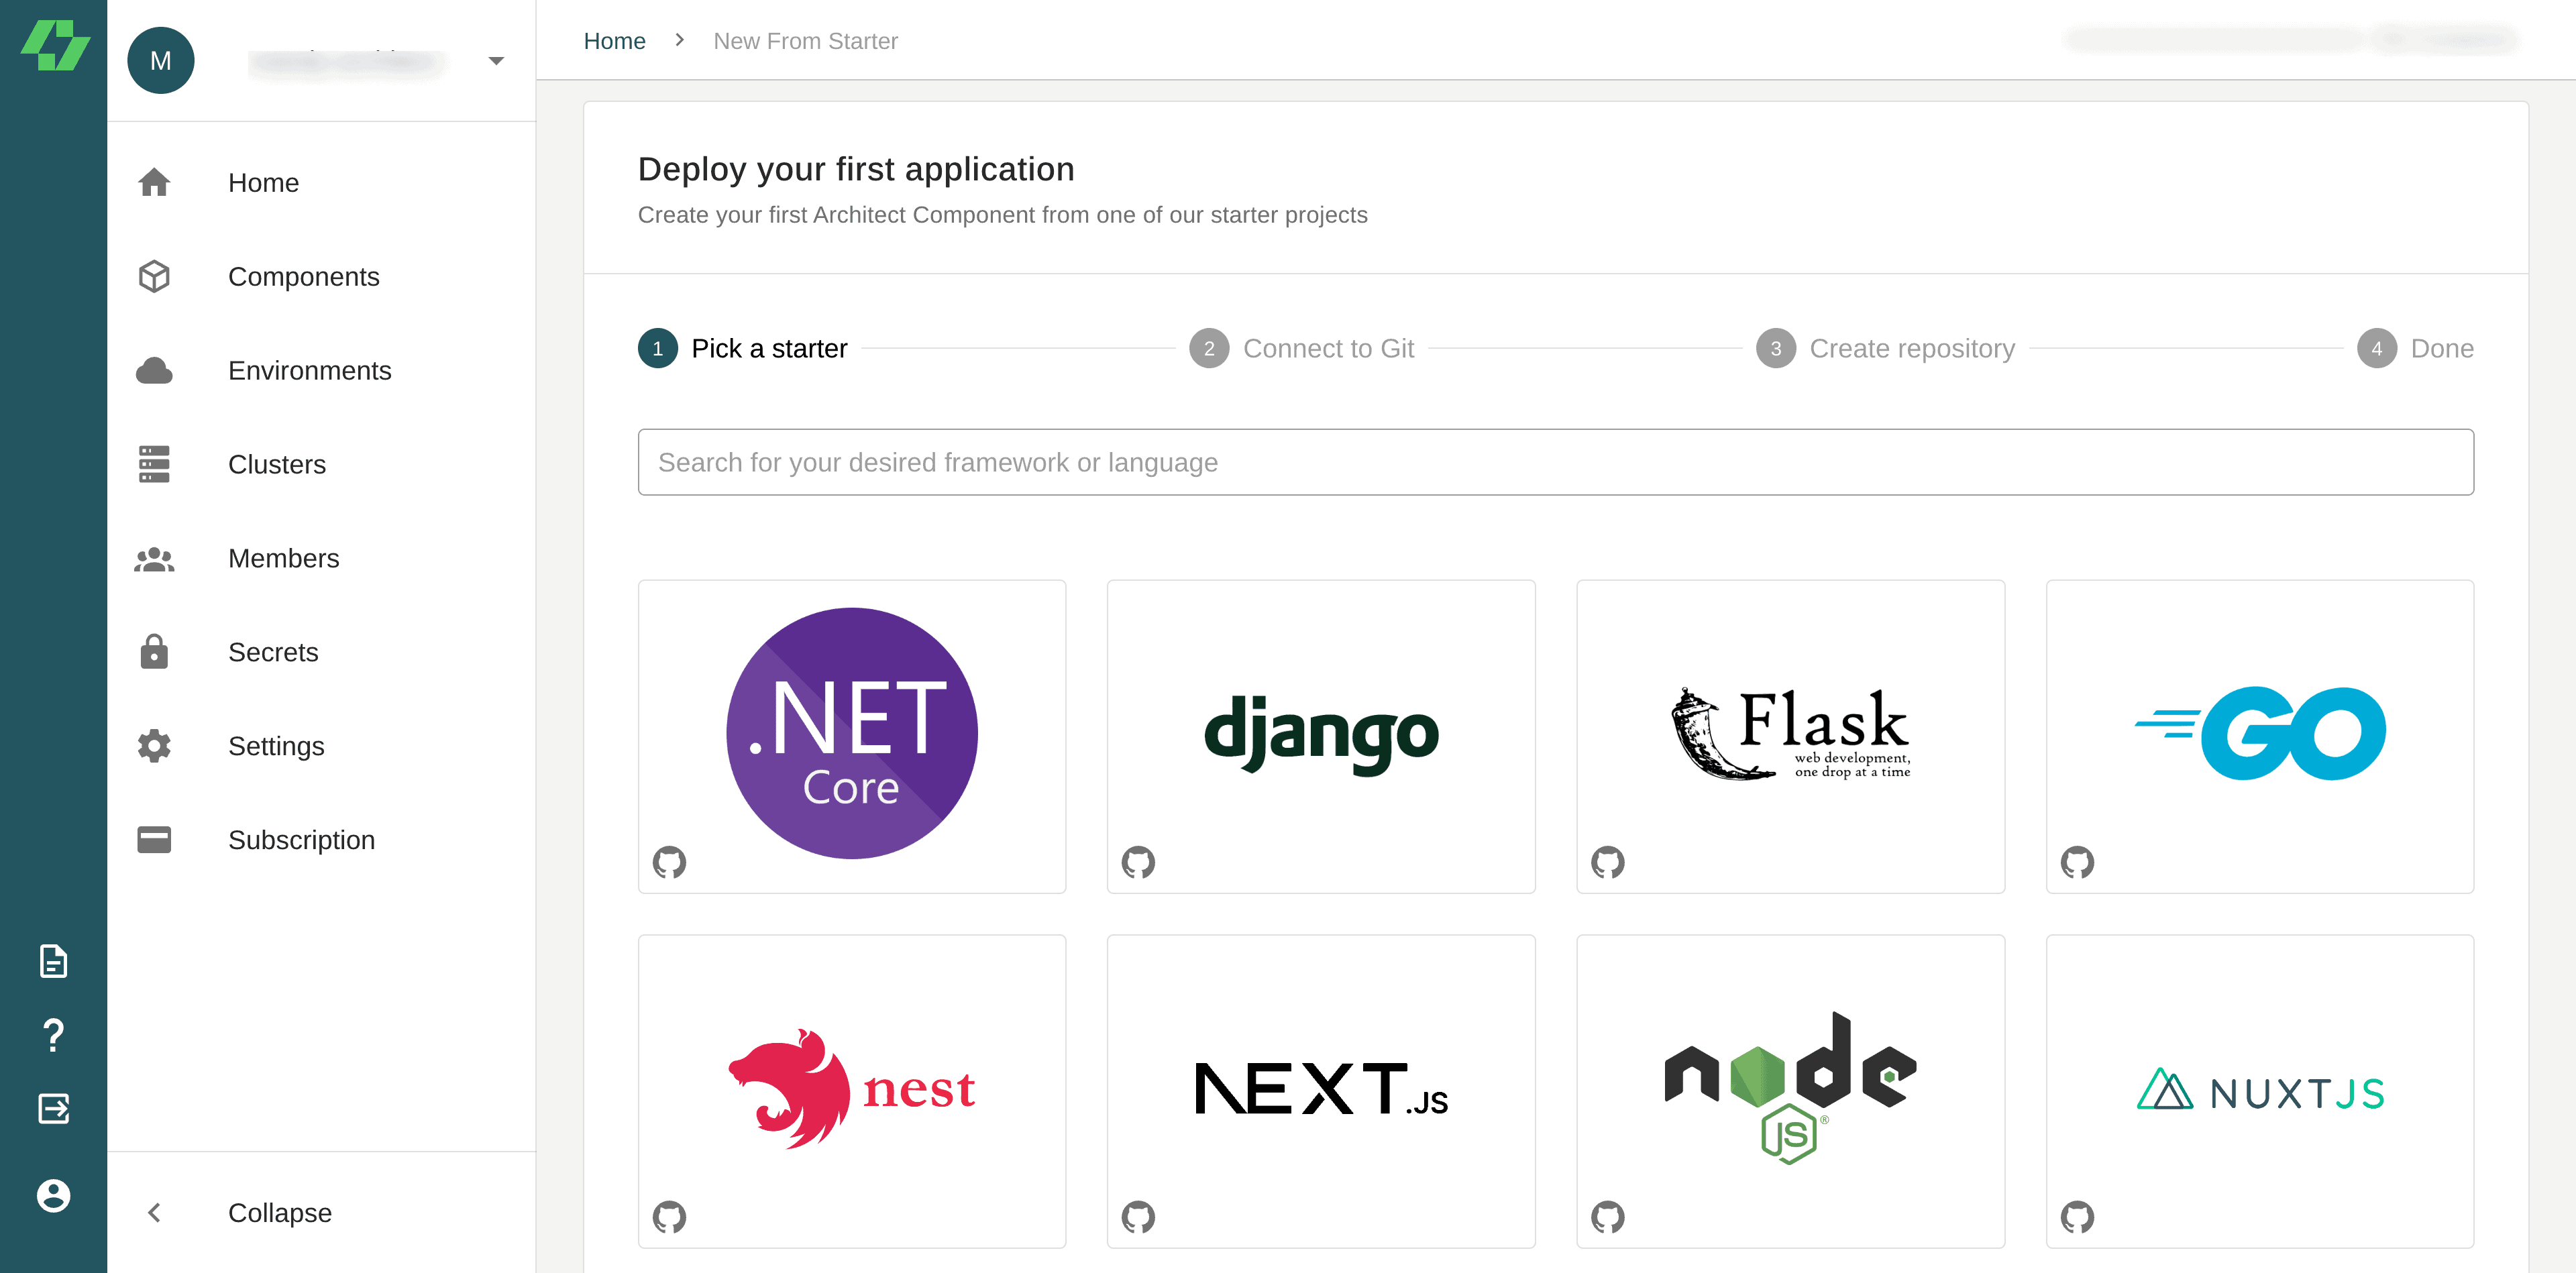
4. Select Github as the Git provider for your project

5. Architect requests access to your GitHub account so that it can create a new repository to store a clone of the starter project you selected. Click the Authorize architect-team button to grant access. You may be asked to confirm your password during this process.

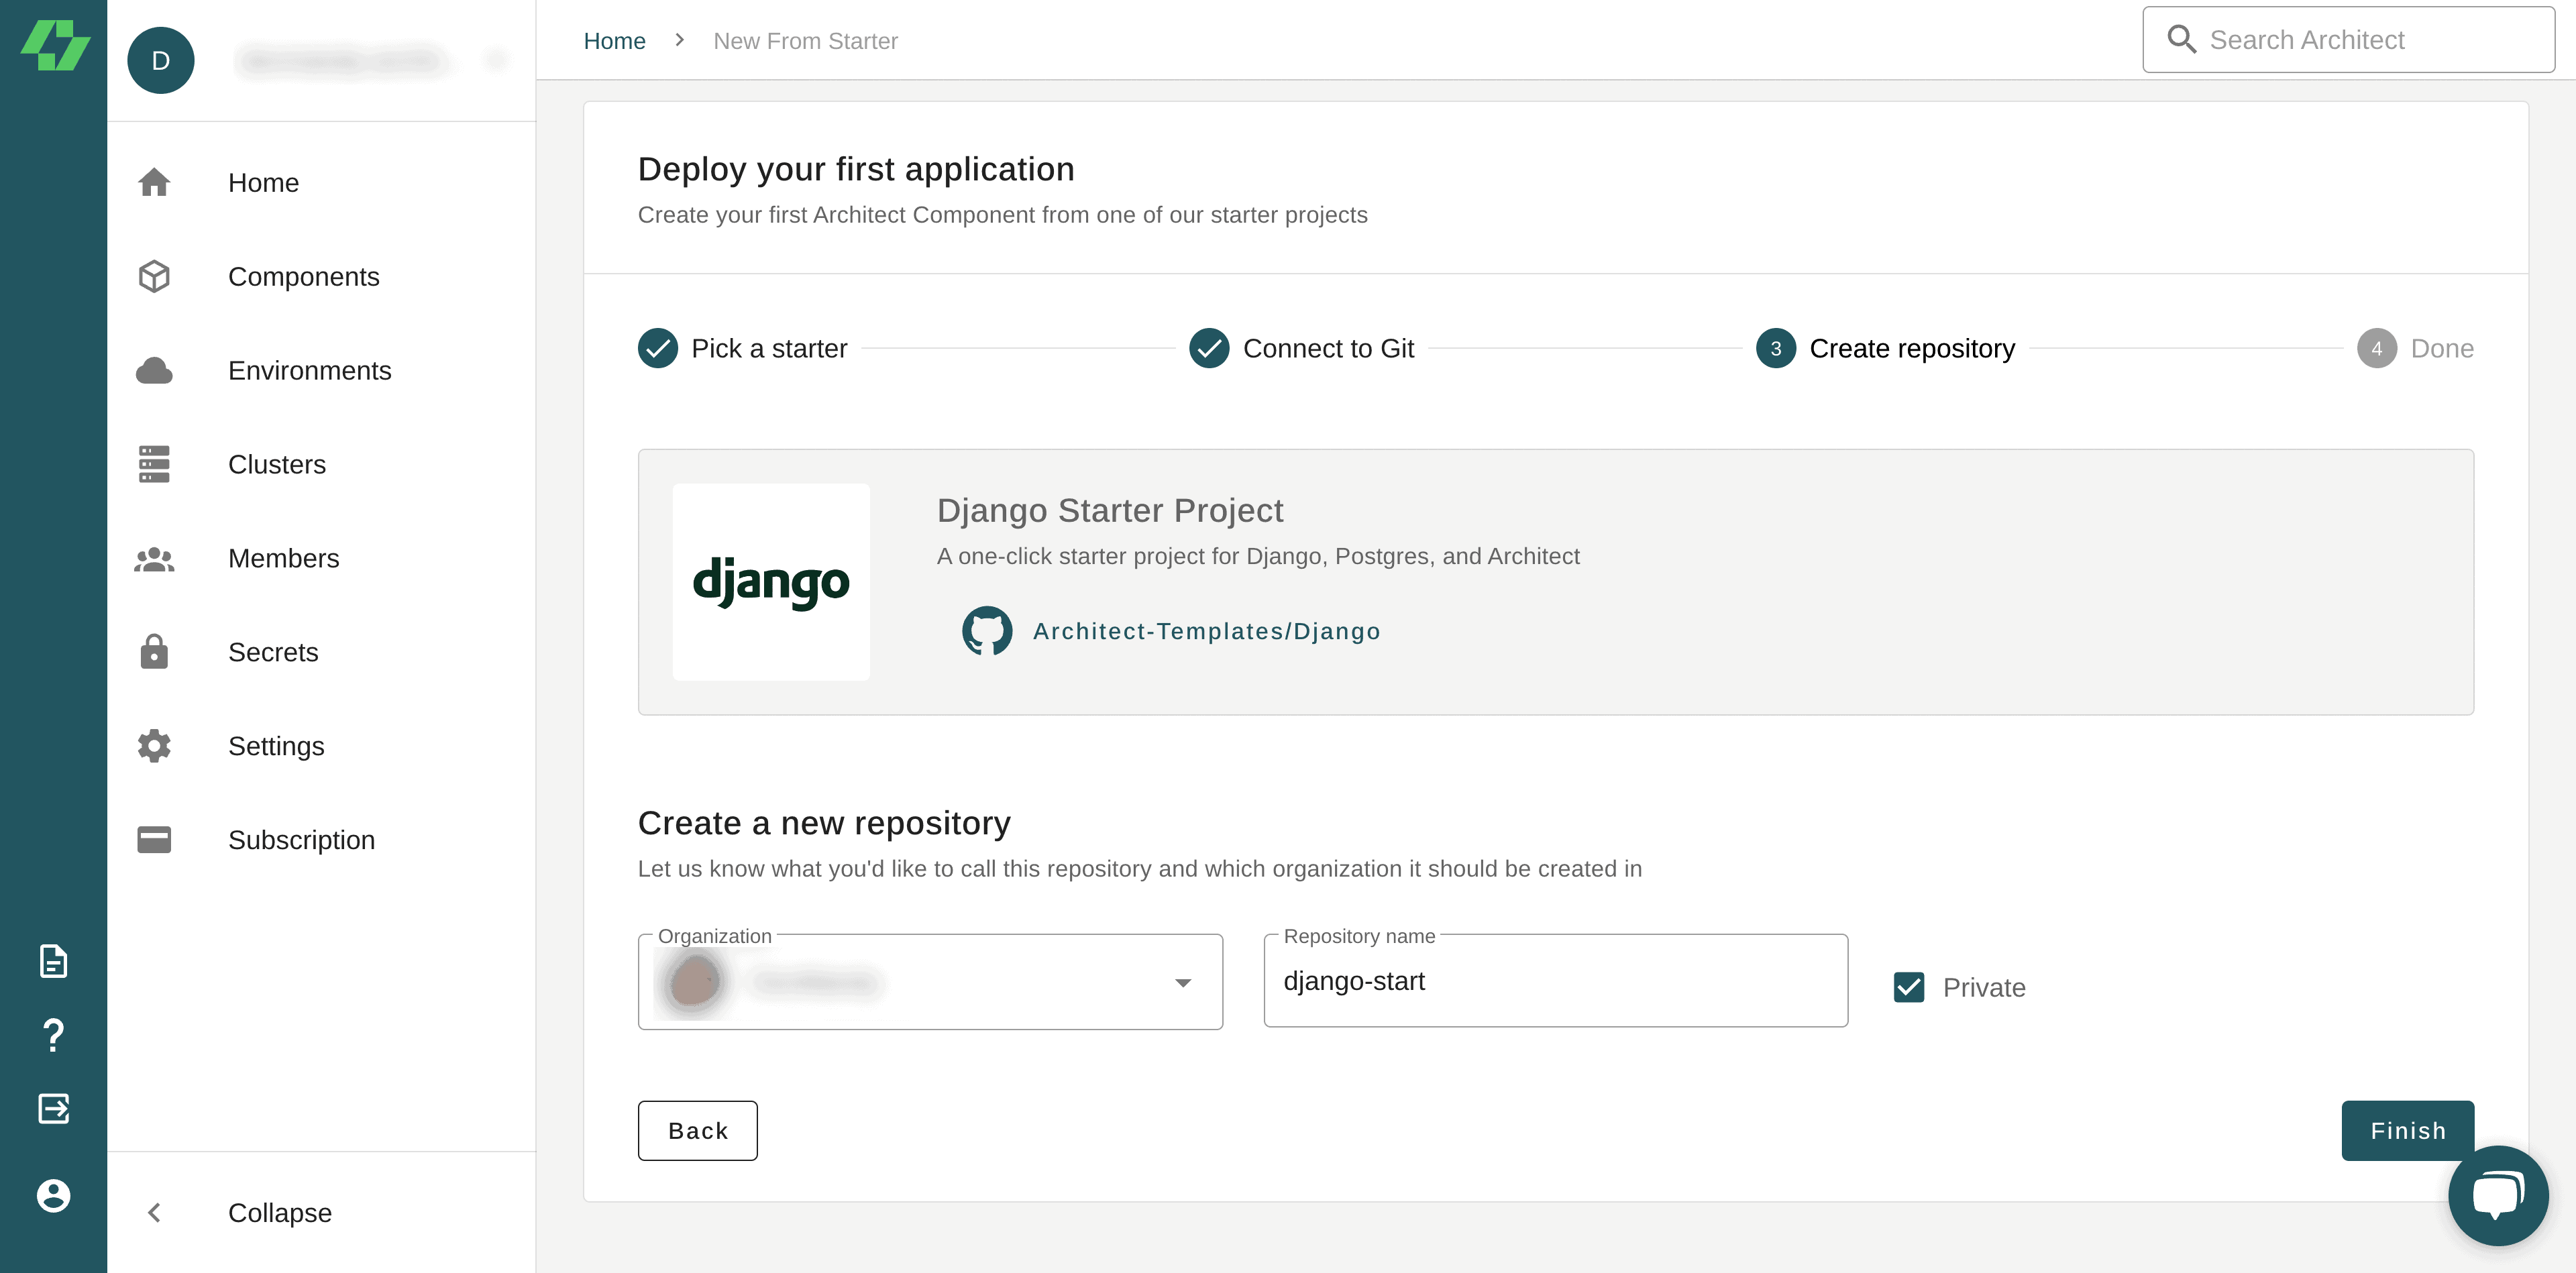
6. Architect then asks for the GitHub organization where you want the project to reside. The drop-down box contains your personal account and any GitHub organizations to which you belong. Select the GitHub account or organization you wish to use.
Architect also asks you to name your new repository. Name the repository django-start, and select the Private checkbox to keep the repository private on GitHub. Then, click Next.
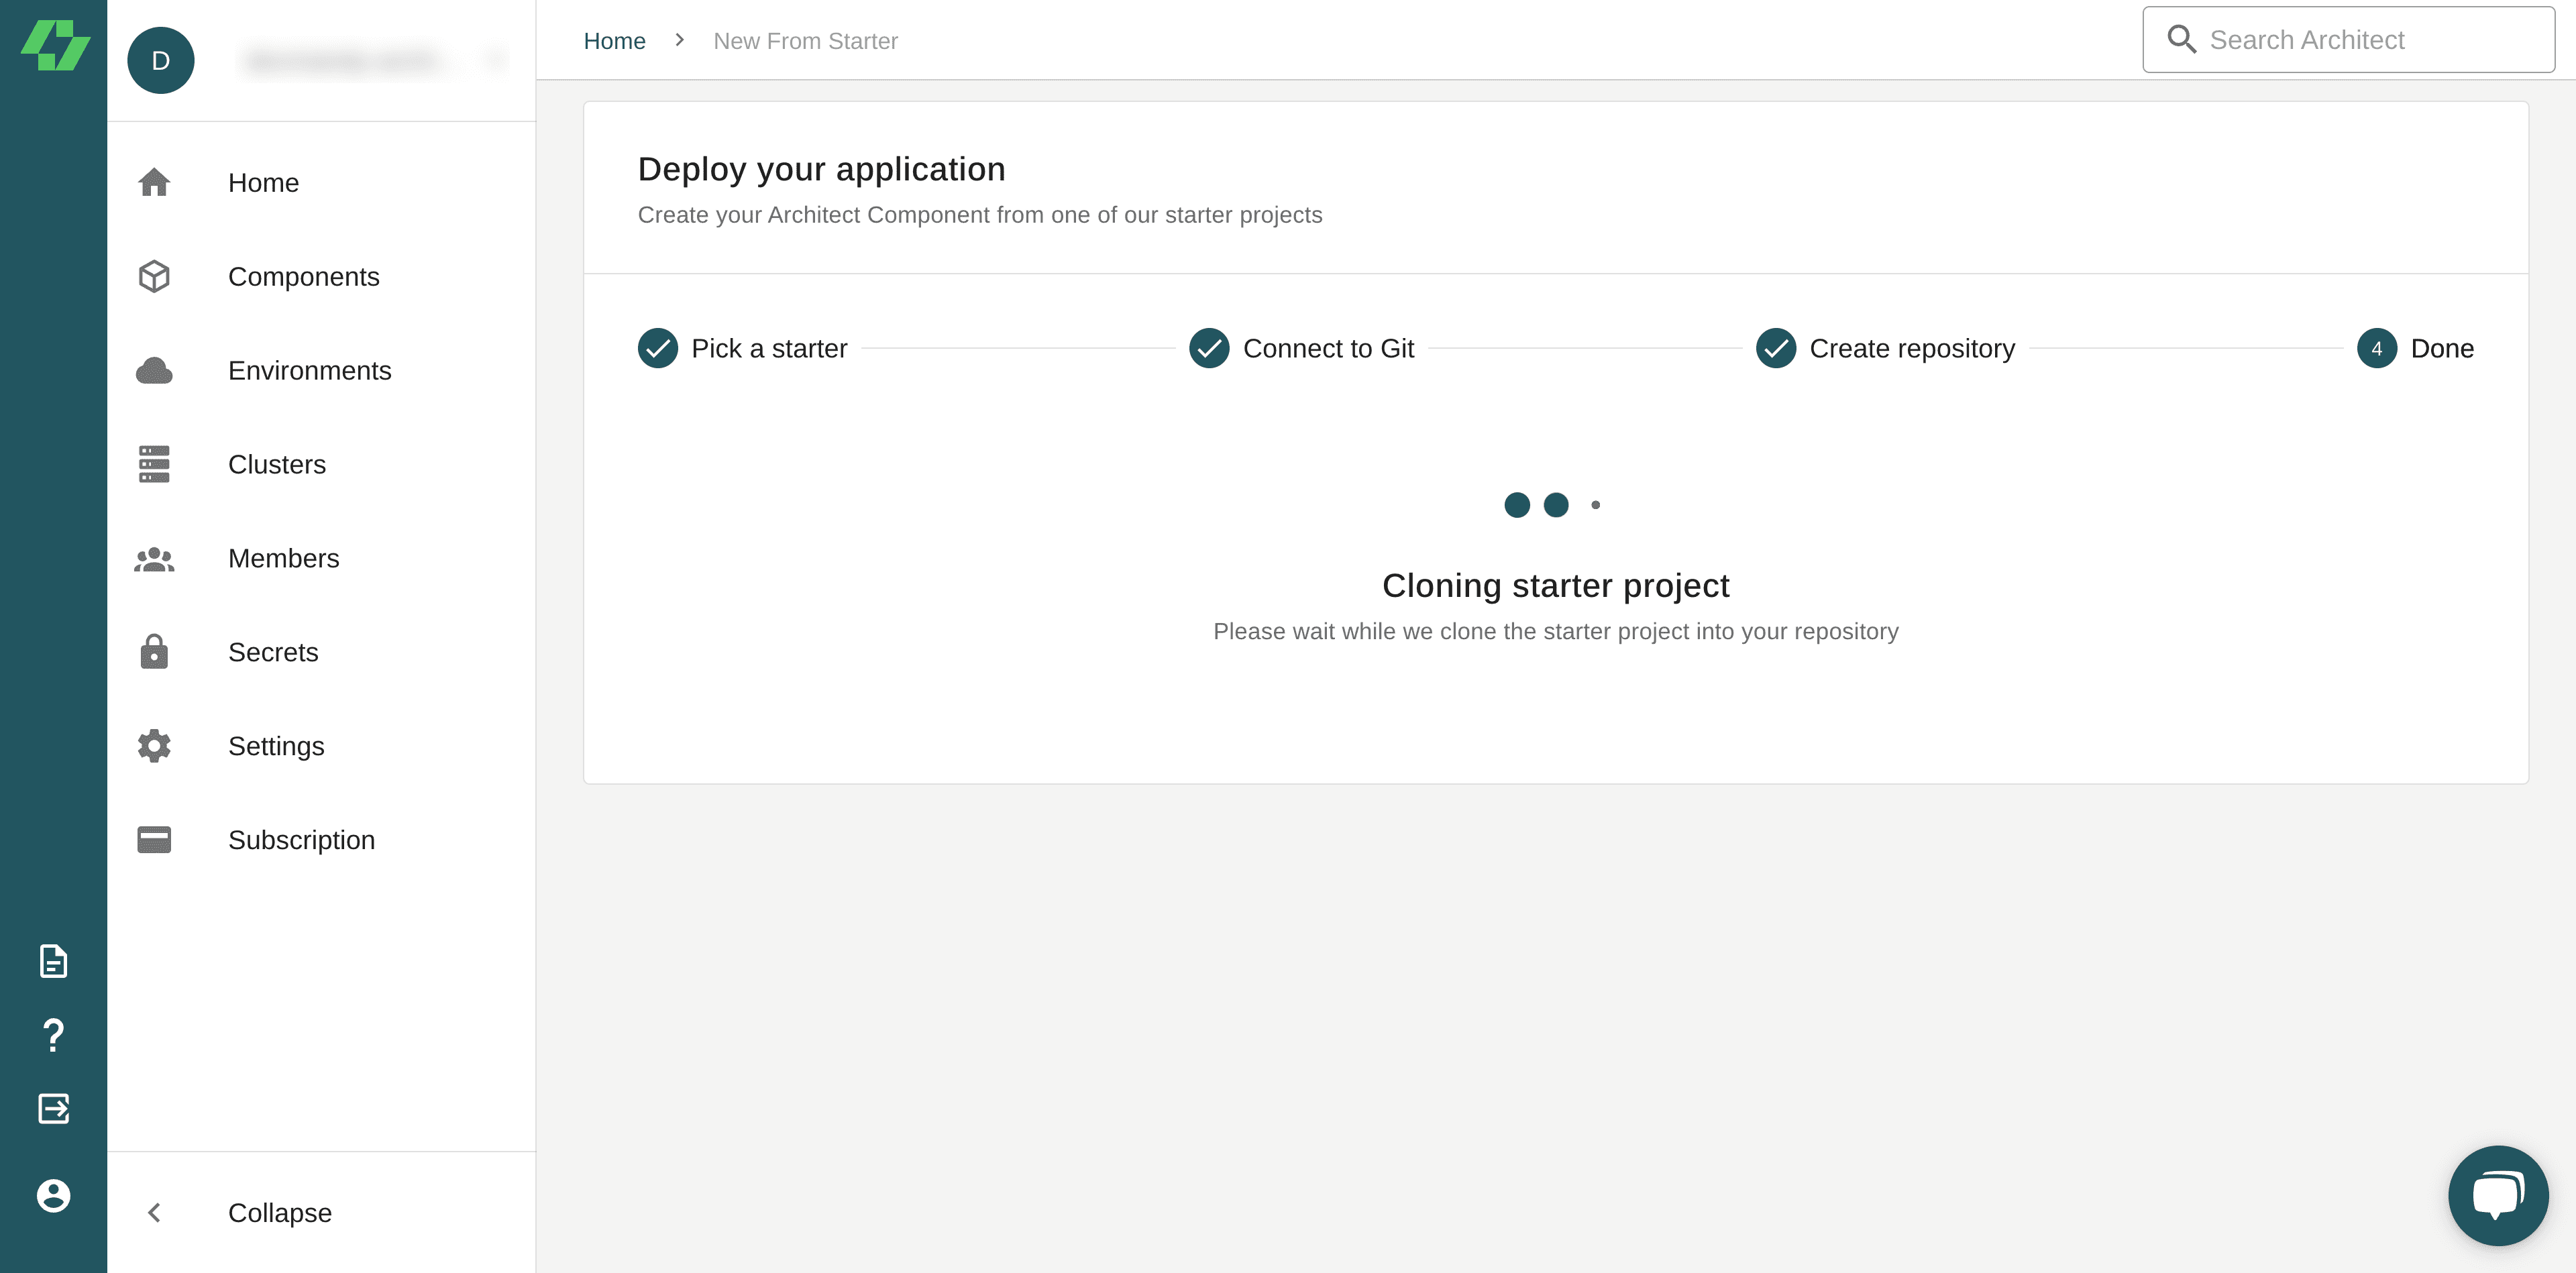
7. At this point, Architect clones the Django starter project in the GitHub account you selected. It might take a couple of minutes to complete.
9. Upon successfully creating the project, your dashboard should look like the following screenshot:
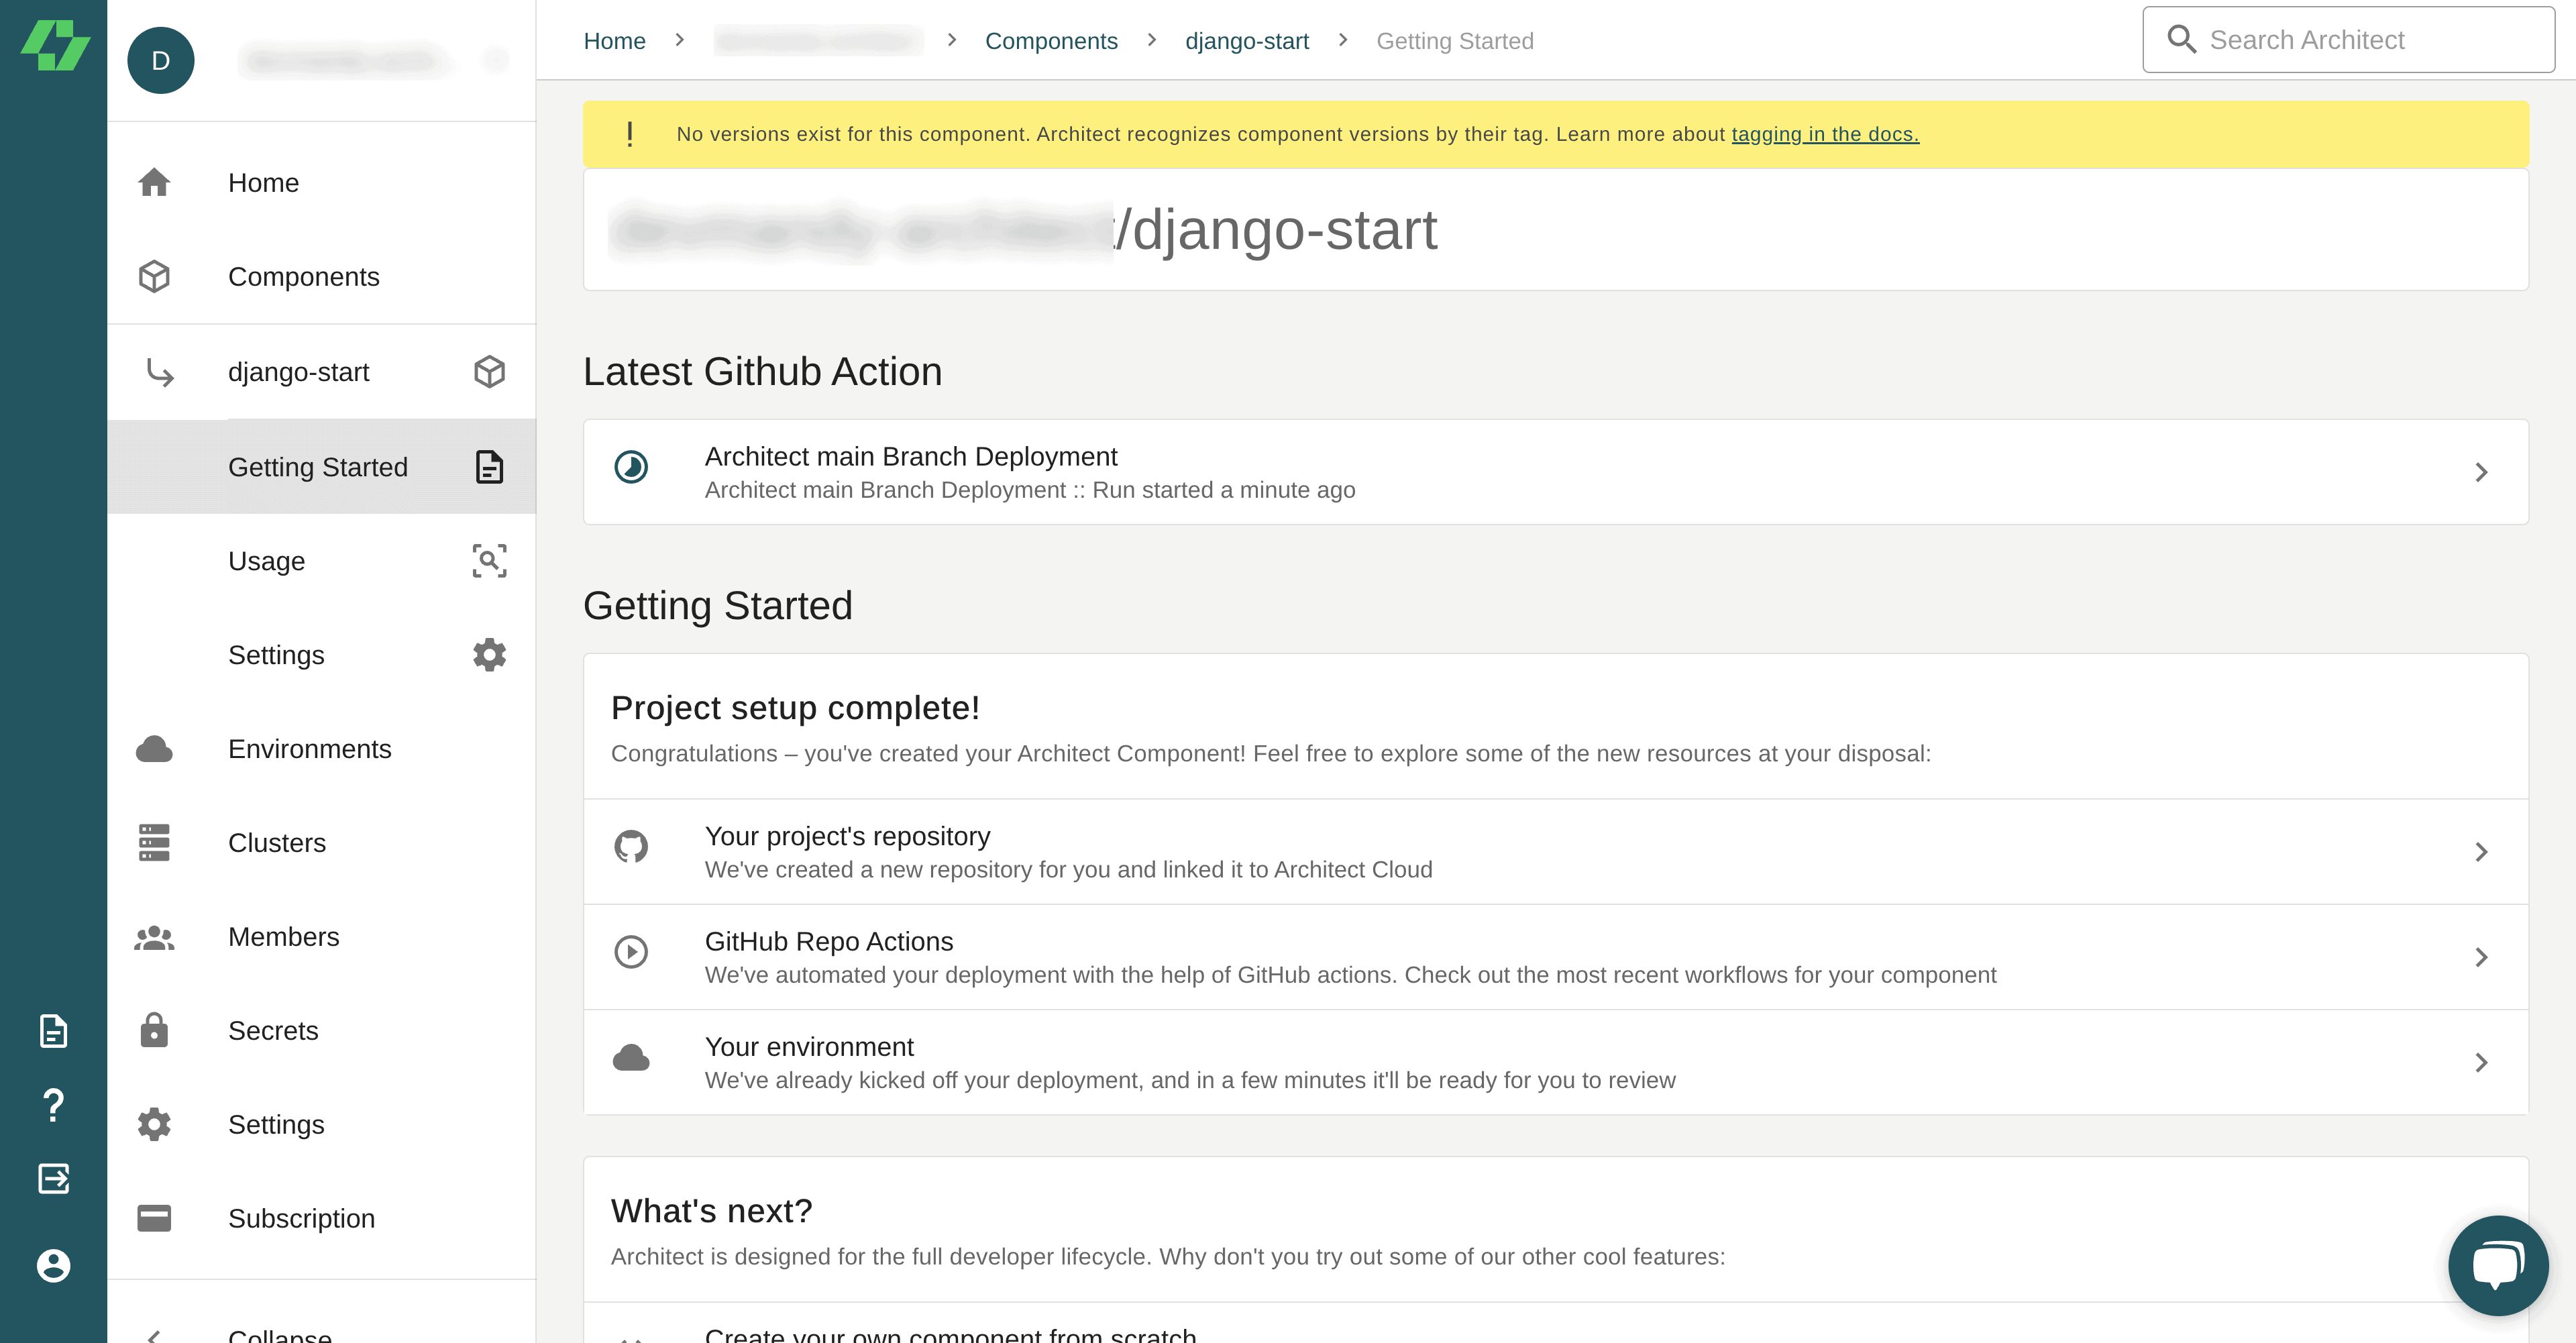
10. You should now have a new repository in your selected GitHub account that you can register as an Architect component and deploy.
Register your Kubernetes cluster
Before you can deploy to your Kubernetes cluster, you’ll need to provide Architect with the configuration details. Since connecting a cluster involves your kubeconfig, you’ll use the Architect CLI to connect your cluster so you never have to upload sensitive connection information to Architect.
The CLI will look for your Kubernetes config file in ~/.kube/config, or you can use the --kubeconfig flag and pass the full path to your file if it resides elsewhere.
Run the following command to connect your Kubernetes cluster to Architect, selecting the appropriate account and cluster:
architect cluster:create <cluster-name>
Create an environment
Now that you’ve connected your cluster, you’re ready to create an environment, an isolated entity on a cluster for deploying code, by running the following command and selecting your cluster from the dropdown list:
architect environments:create my-first-environment
Deploy the application
Now that you have connected your Kubernetes cluster and created a new environment, you can deploy the application, which is packaged as an Architect component.
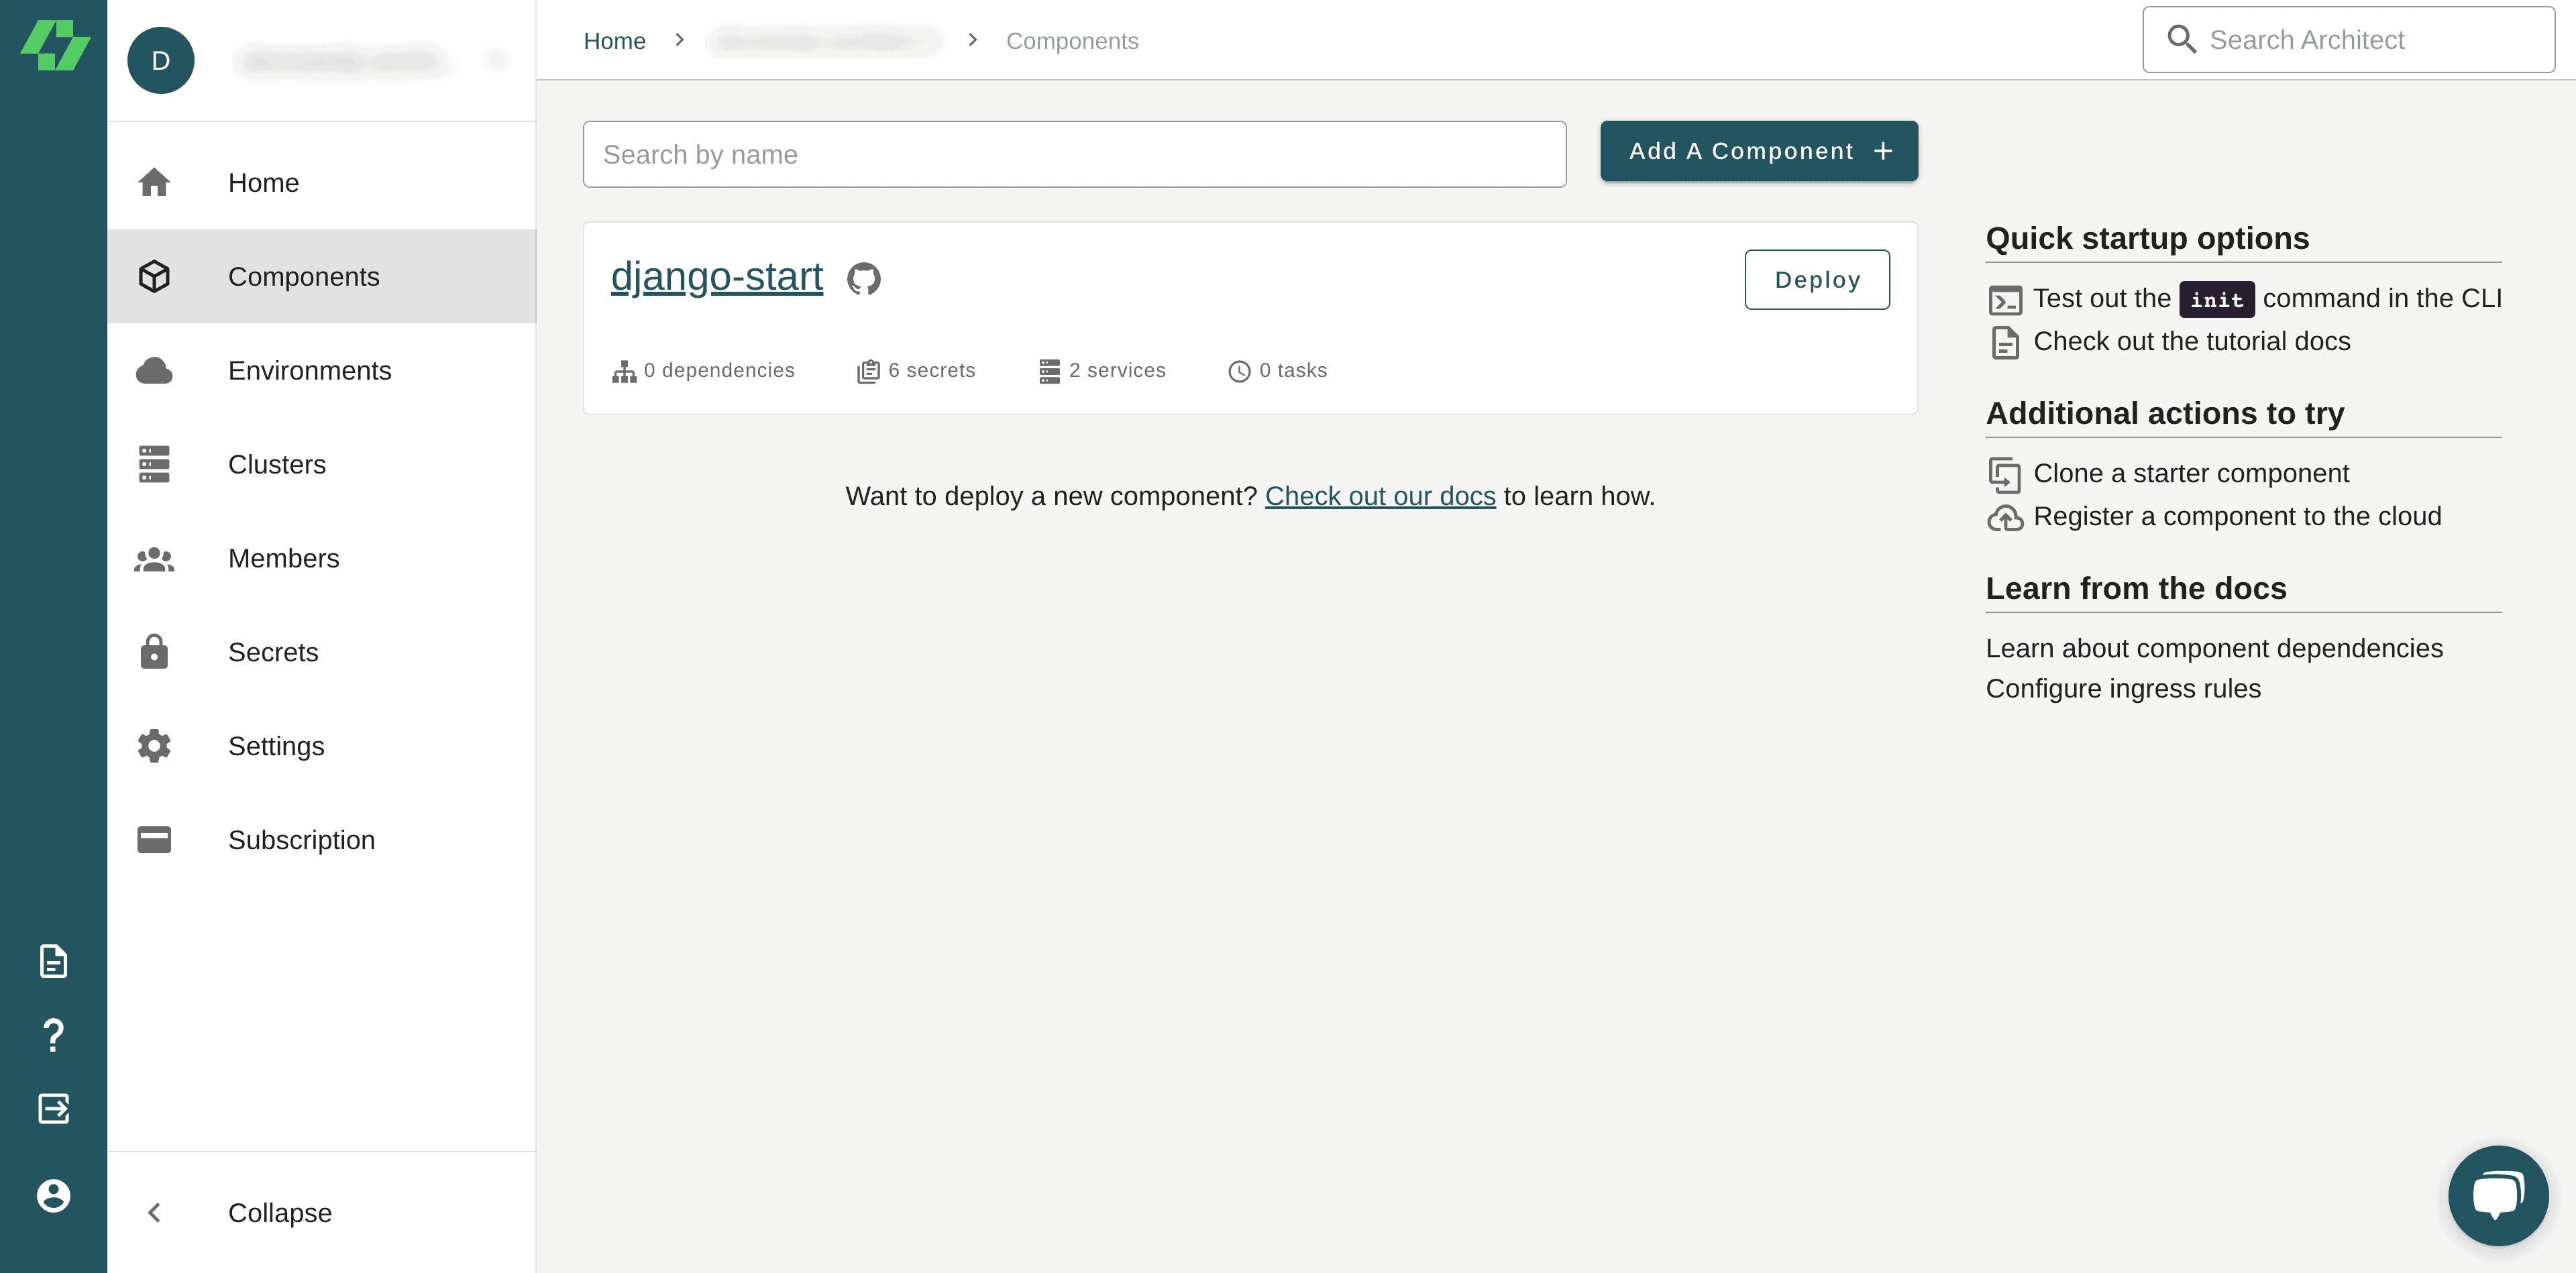
1. Go to the Components menu on your dashboard and click the newly created component, django-start.
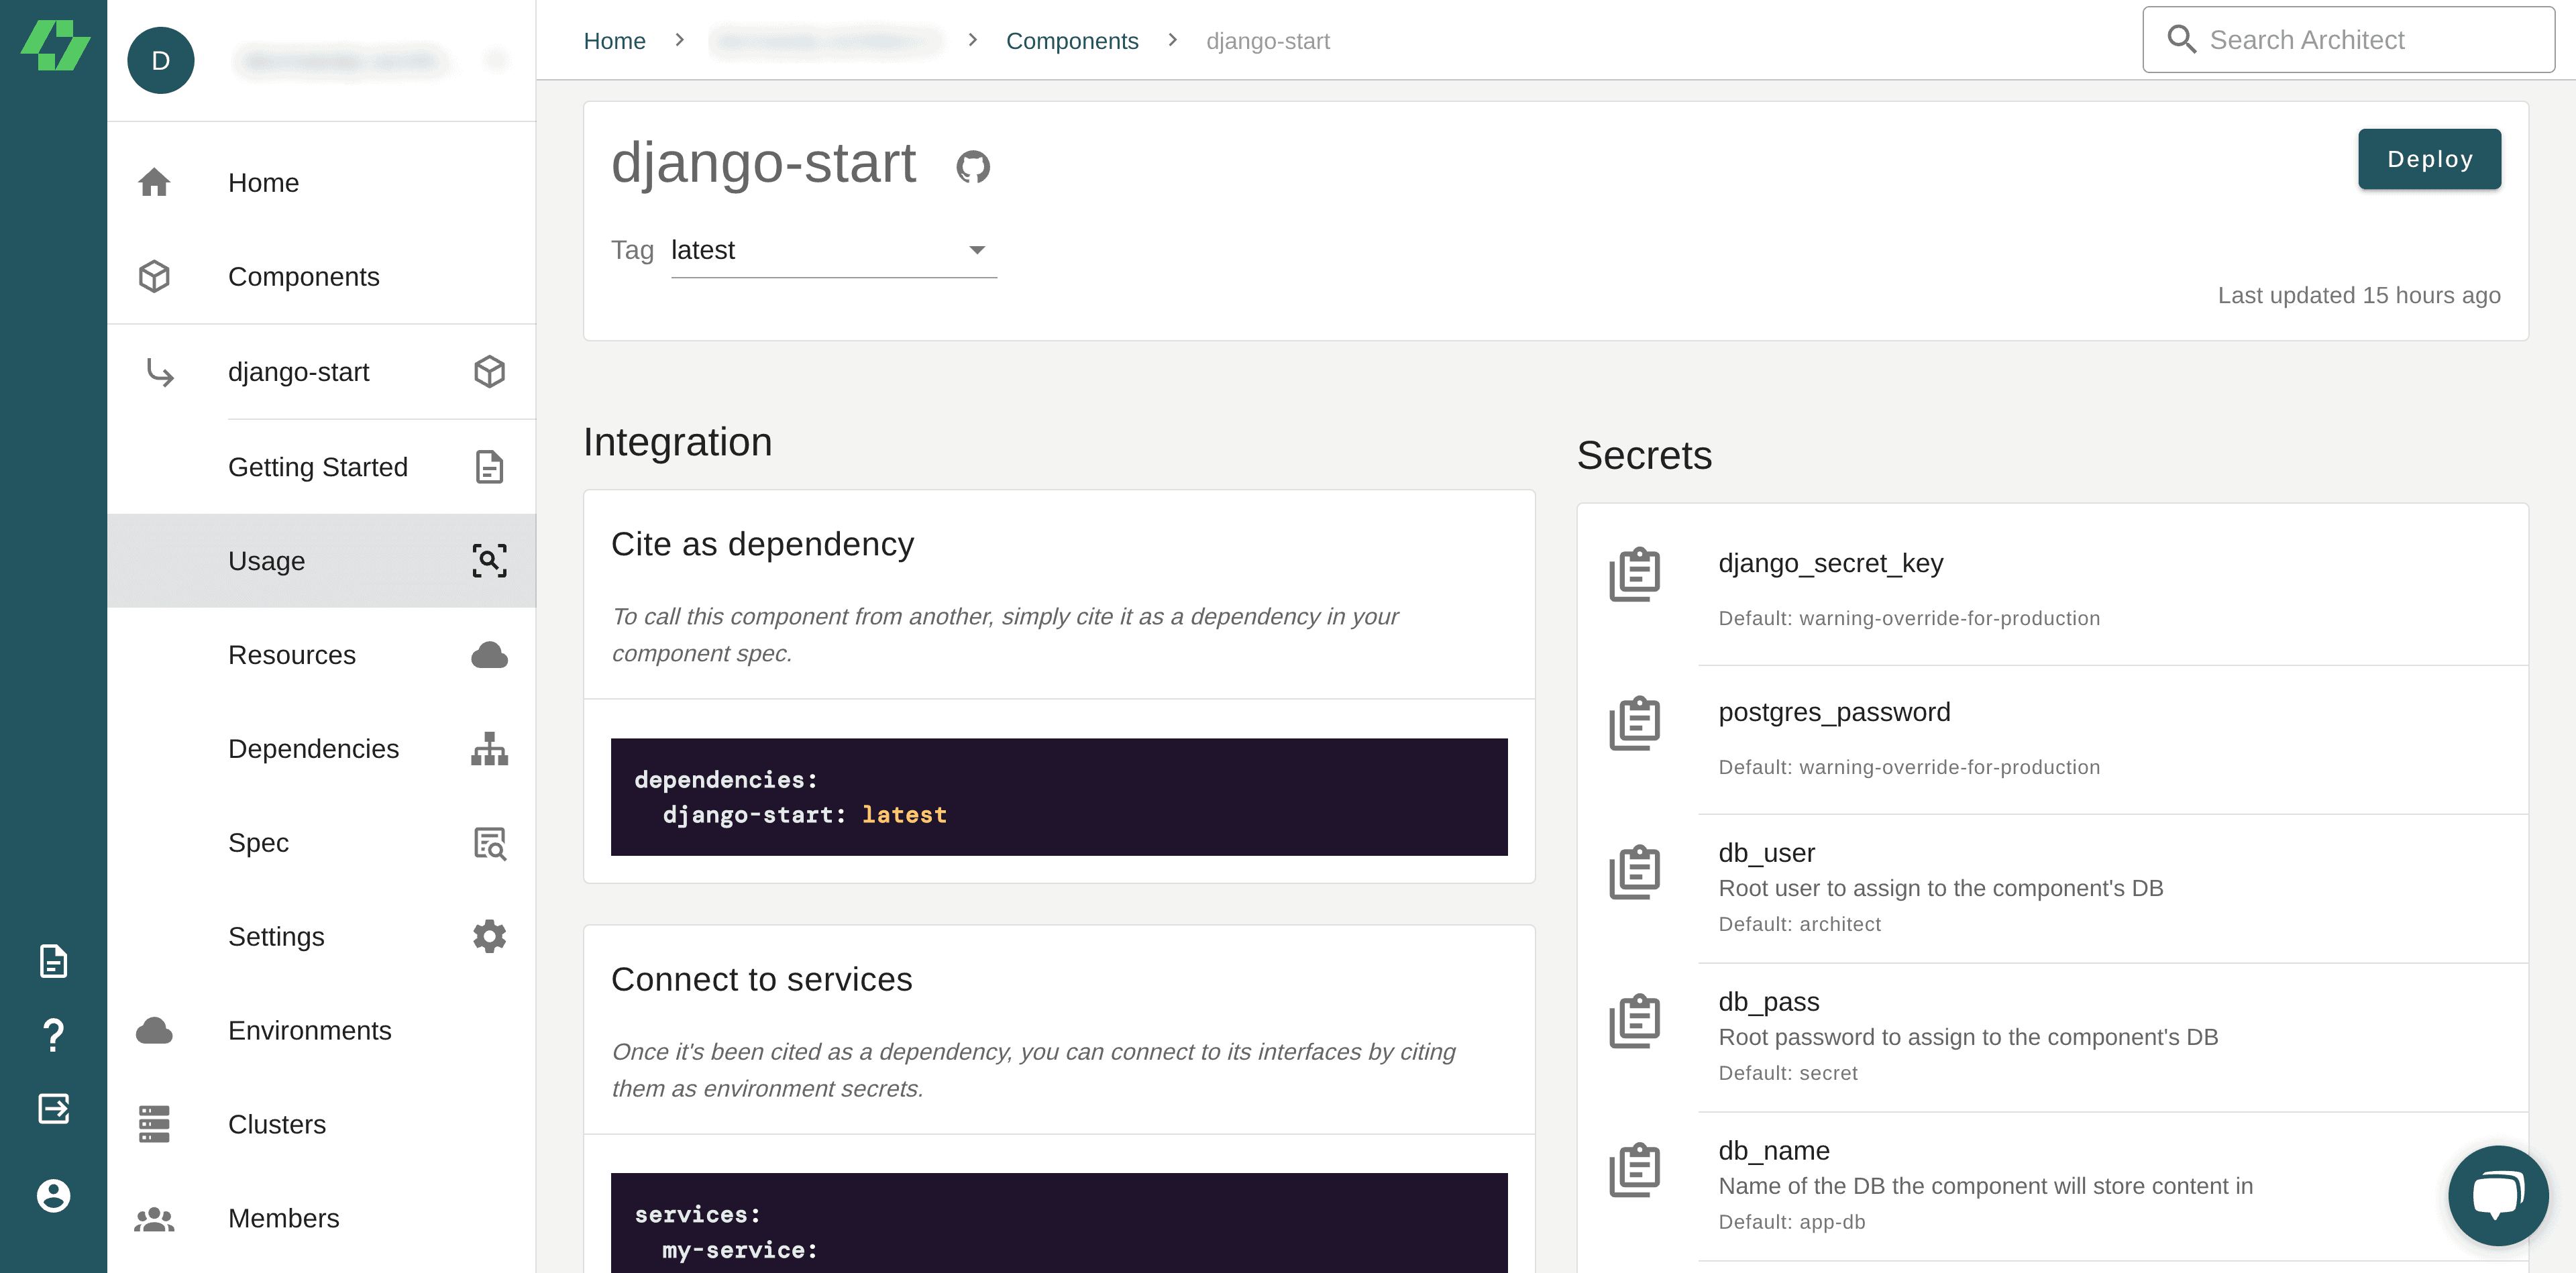
2. This page displays the dependencies, services, interfaces, and secrets this component uses. Click Deploy in the upper-right corner.
3. Select the test environment you created earlier for the deployment.
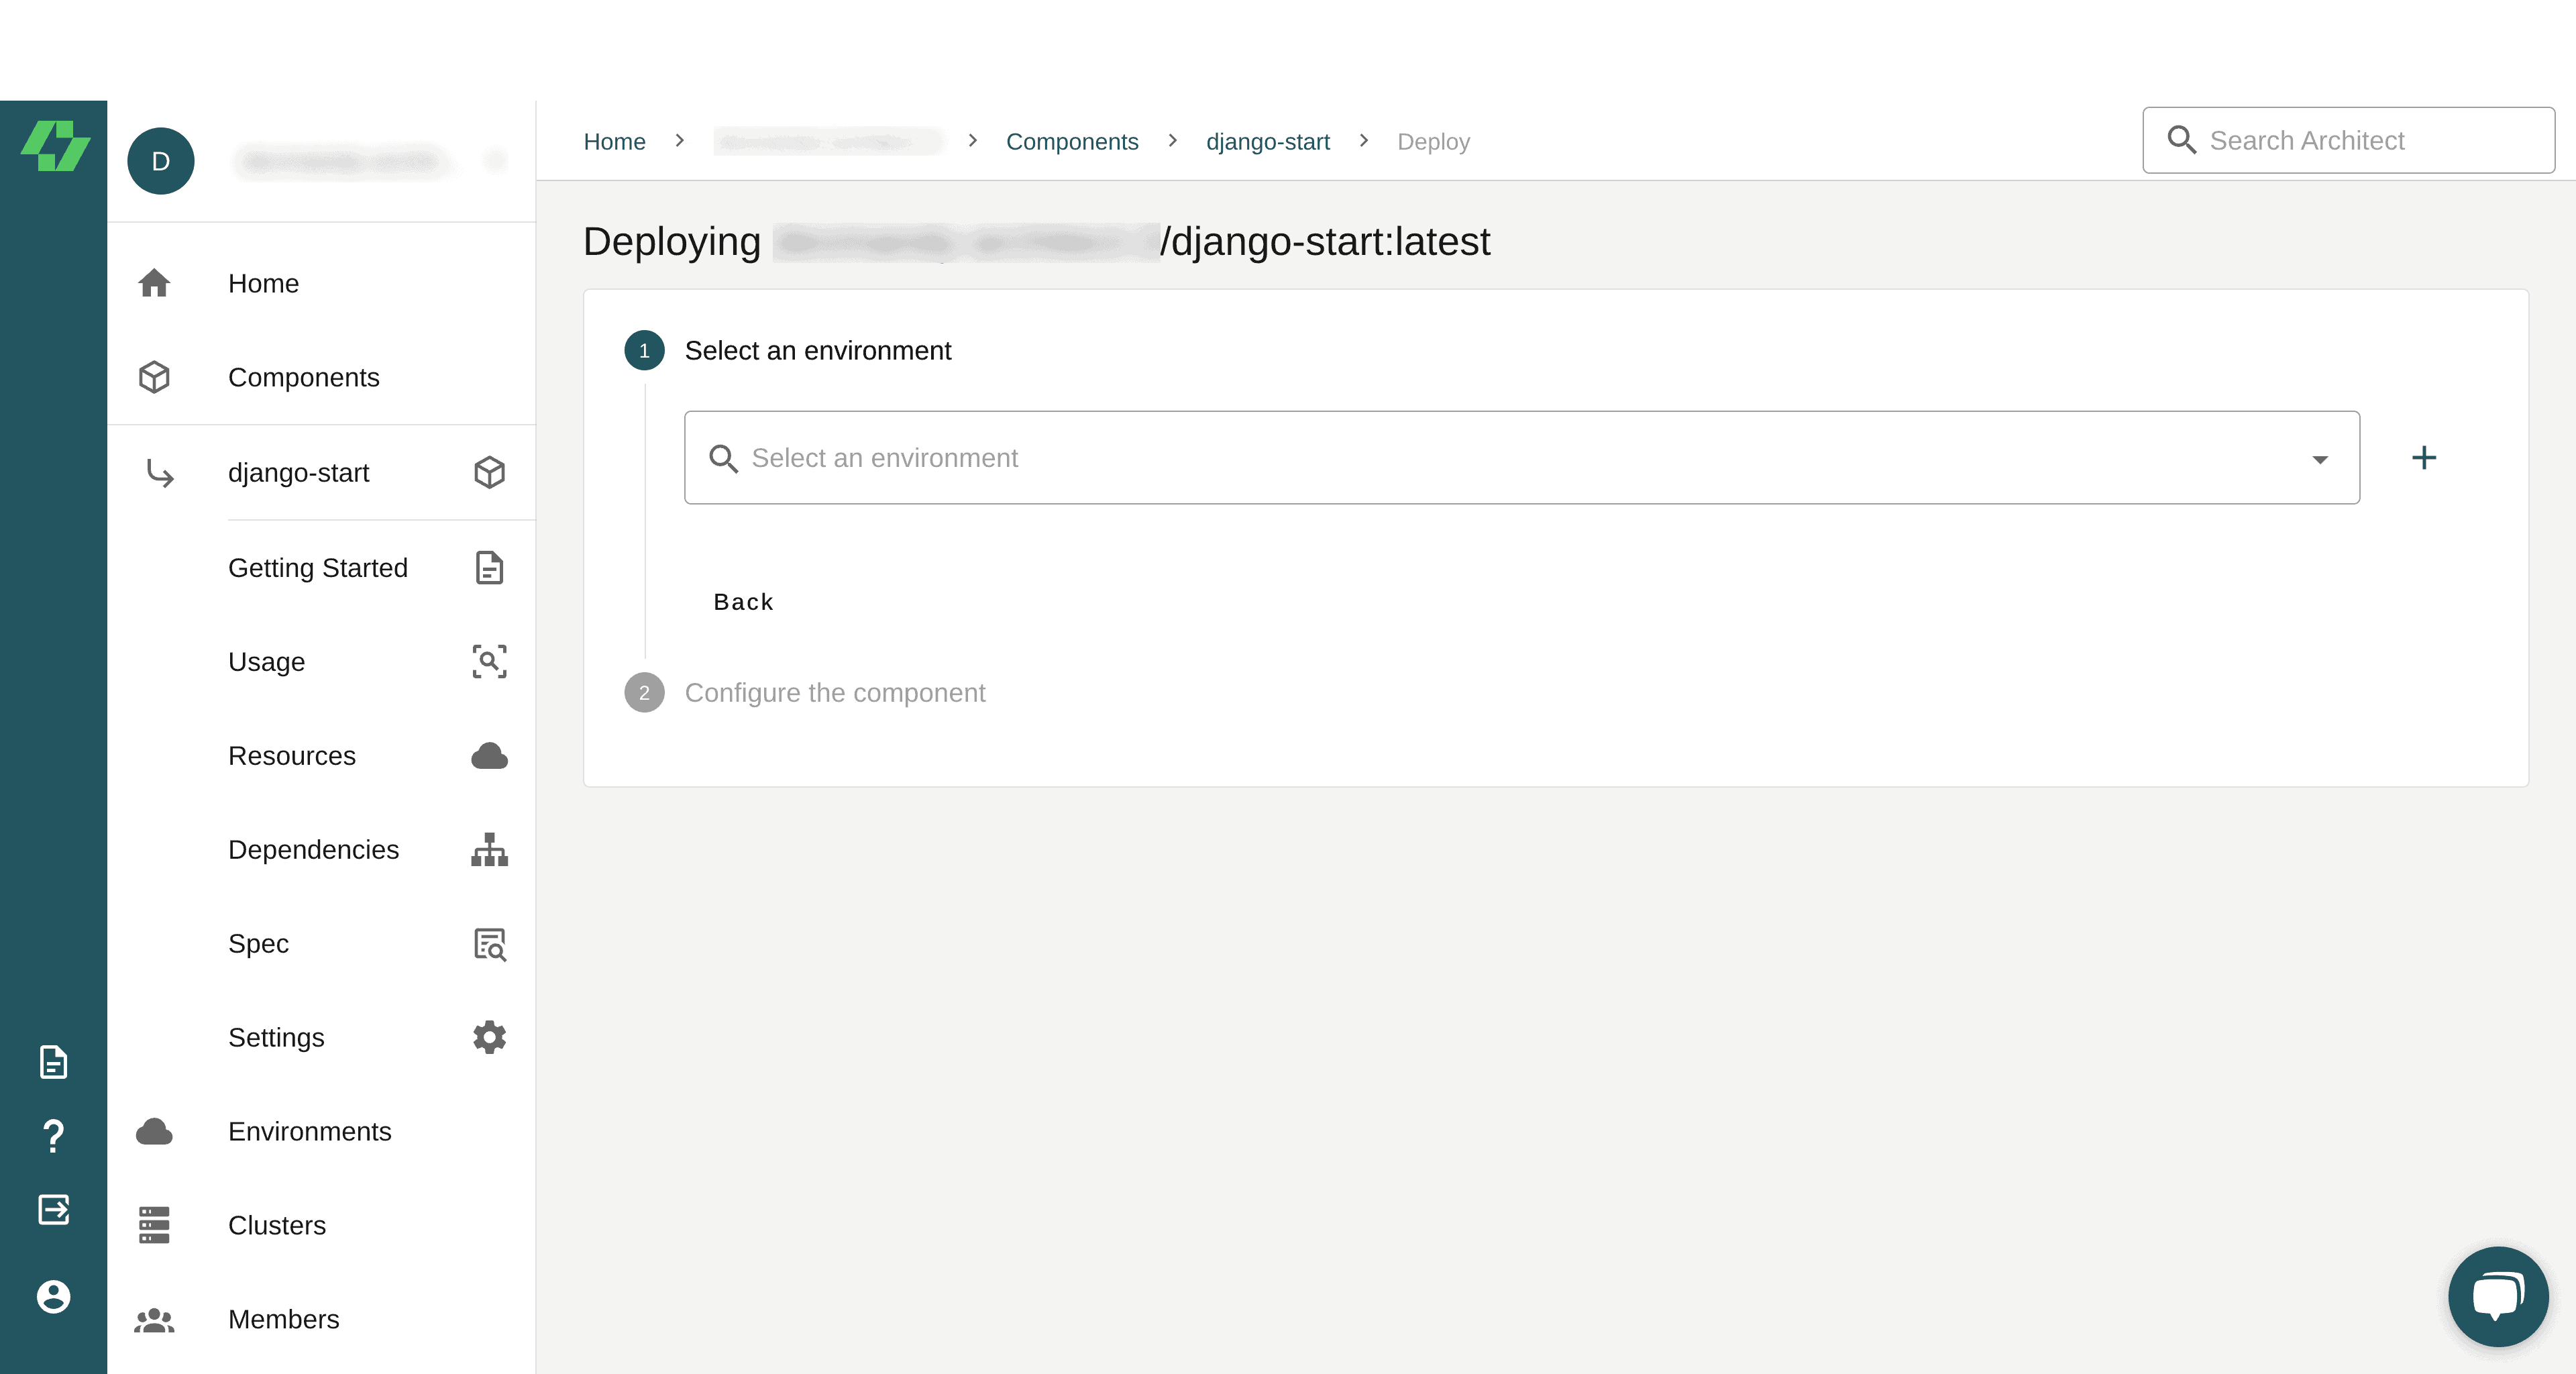
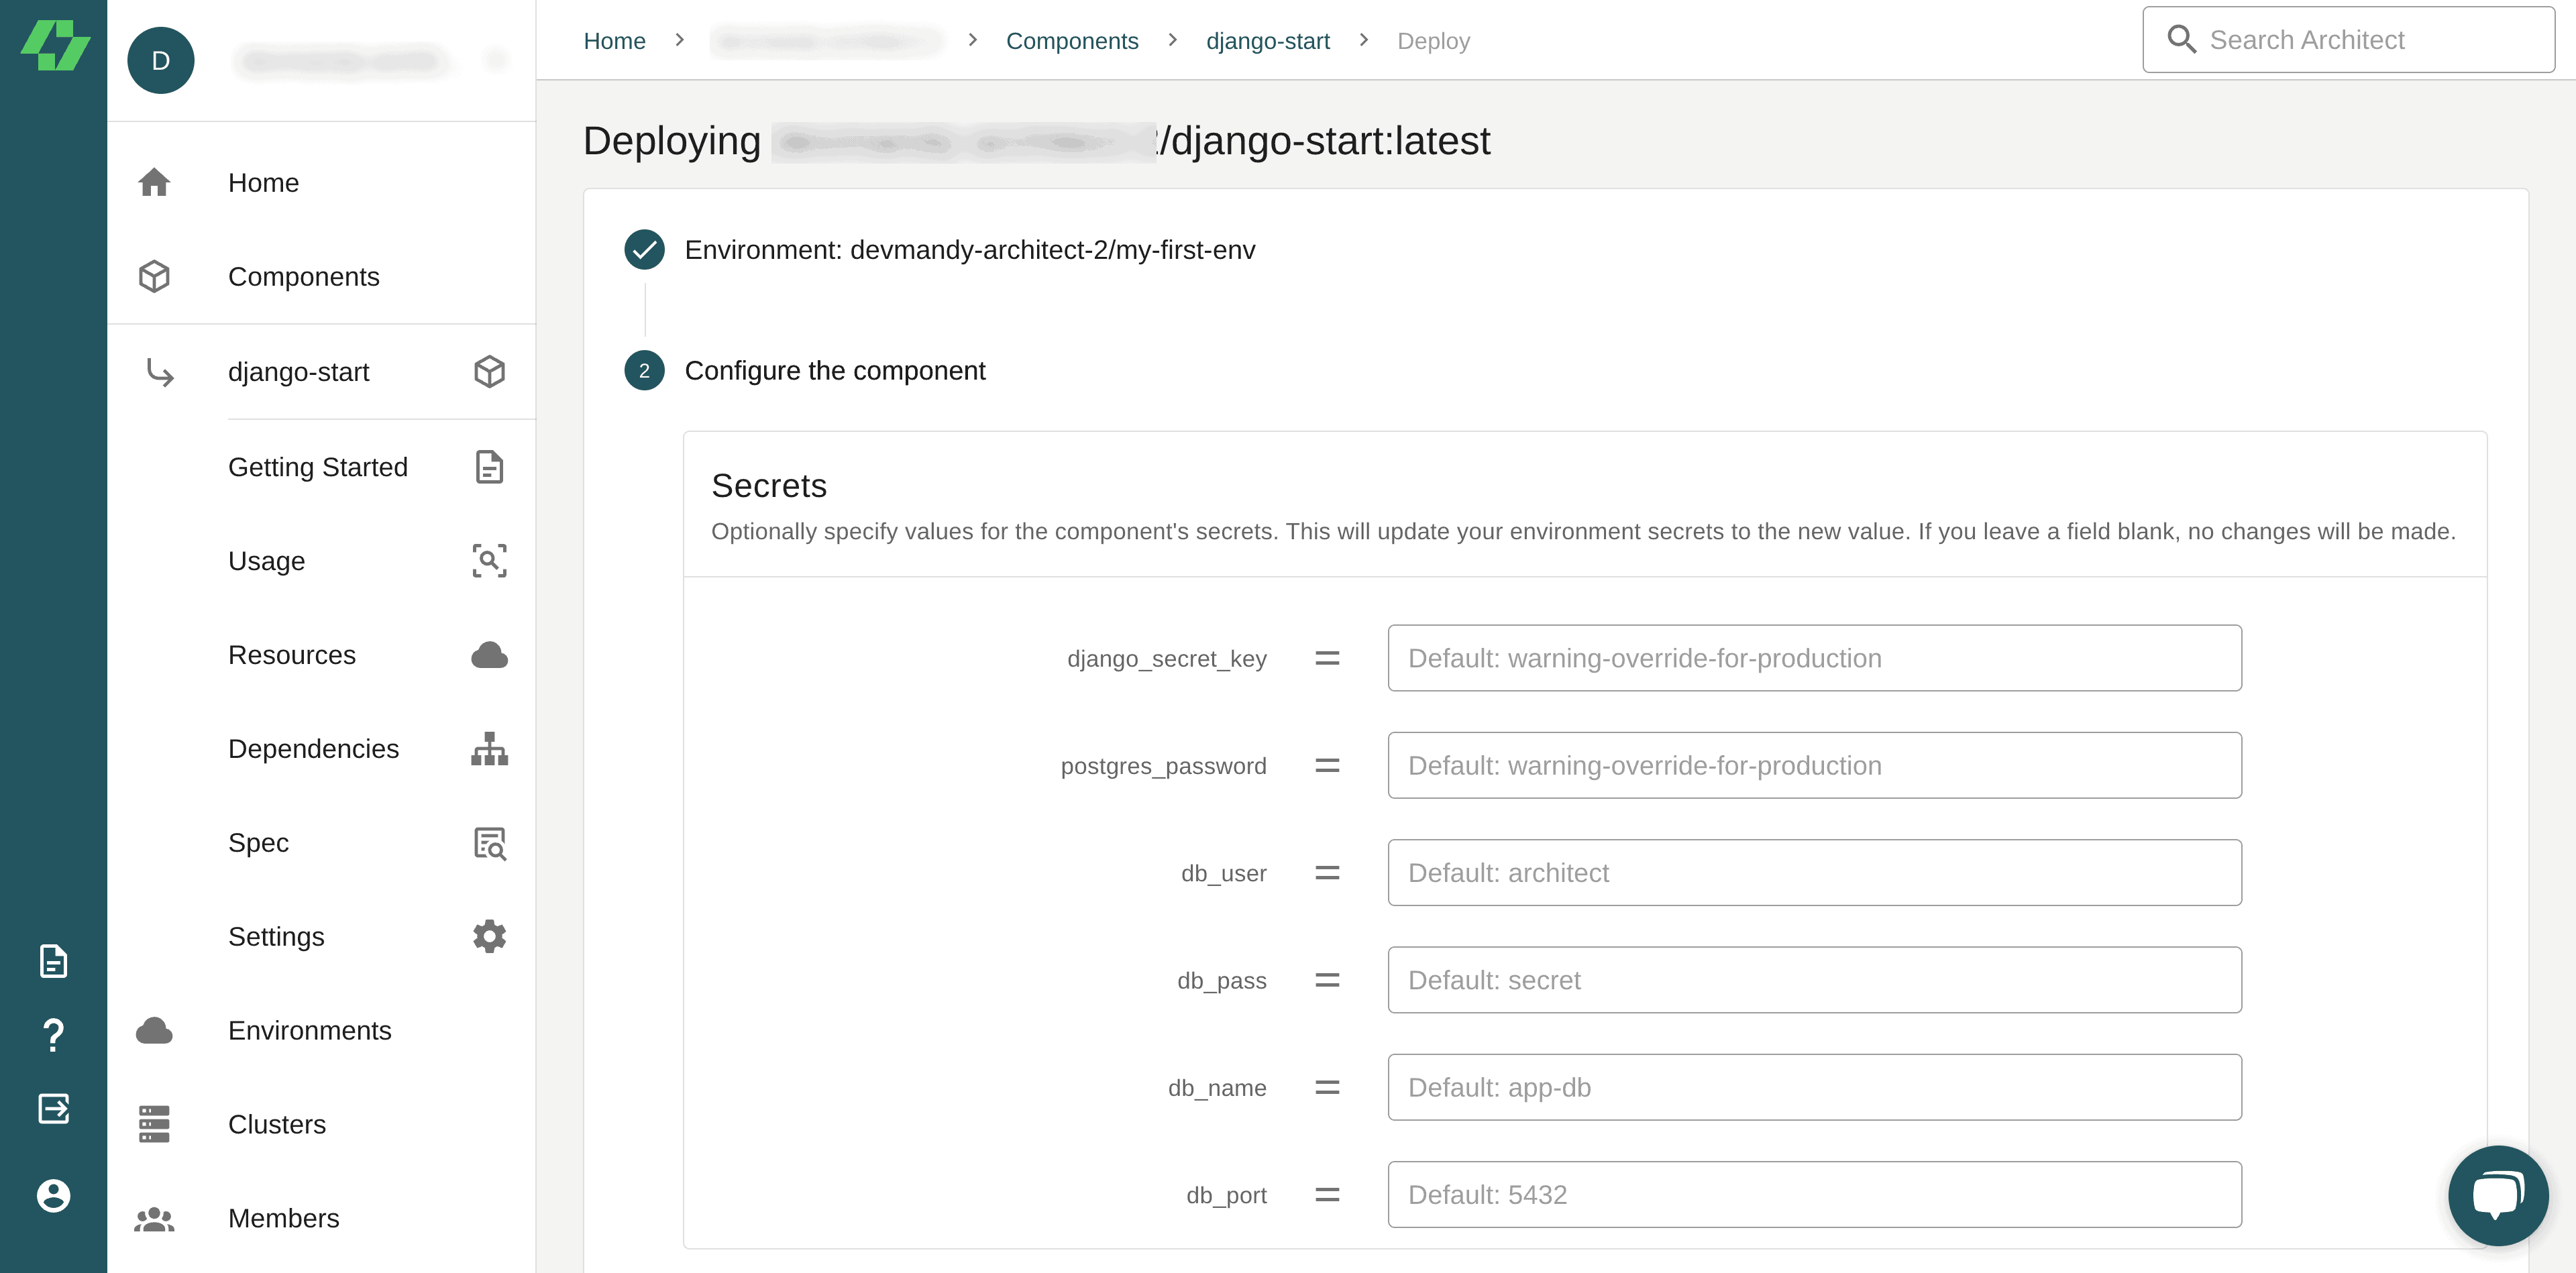
4. Skip the Expose Interfaces section unless you have preconfigured DNS records. Leave the Secrets area empty to maintain the default values specified in your Django project’s architect.yml file. Click Review Changes, which takes you to the Pipeline approval page.
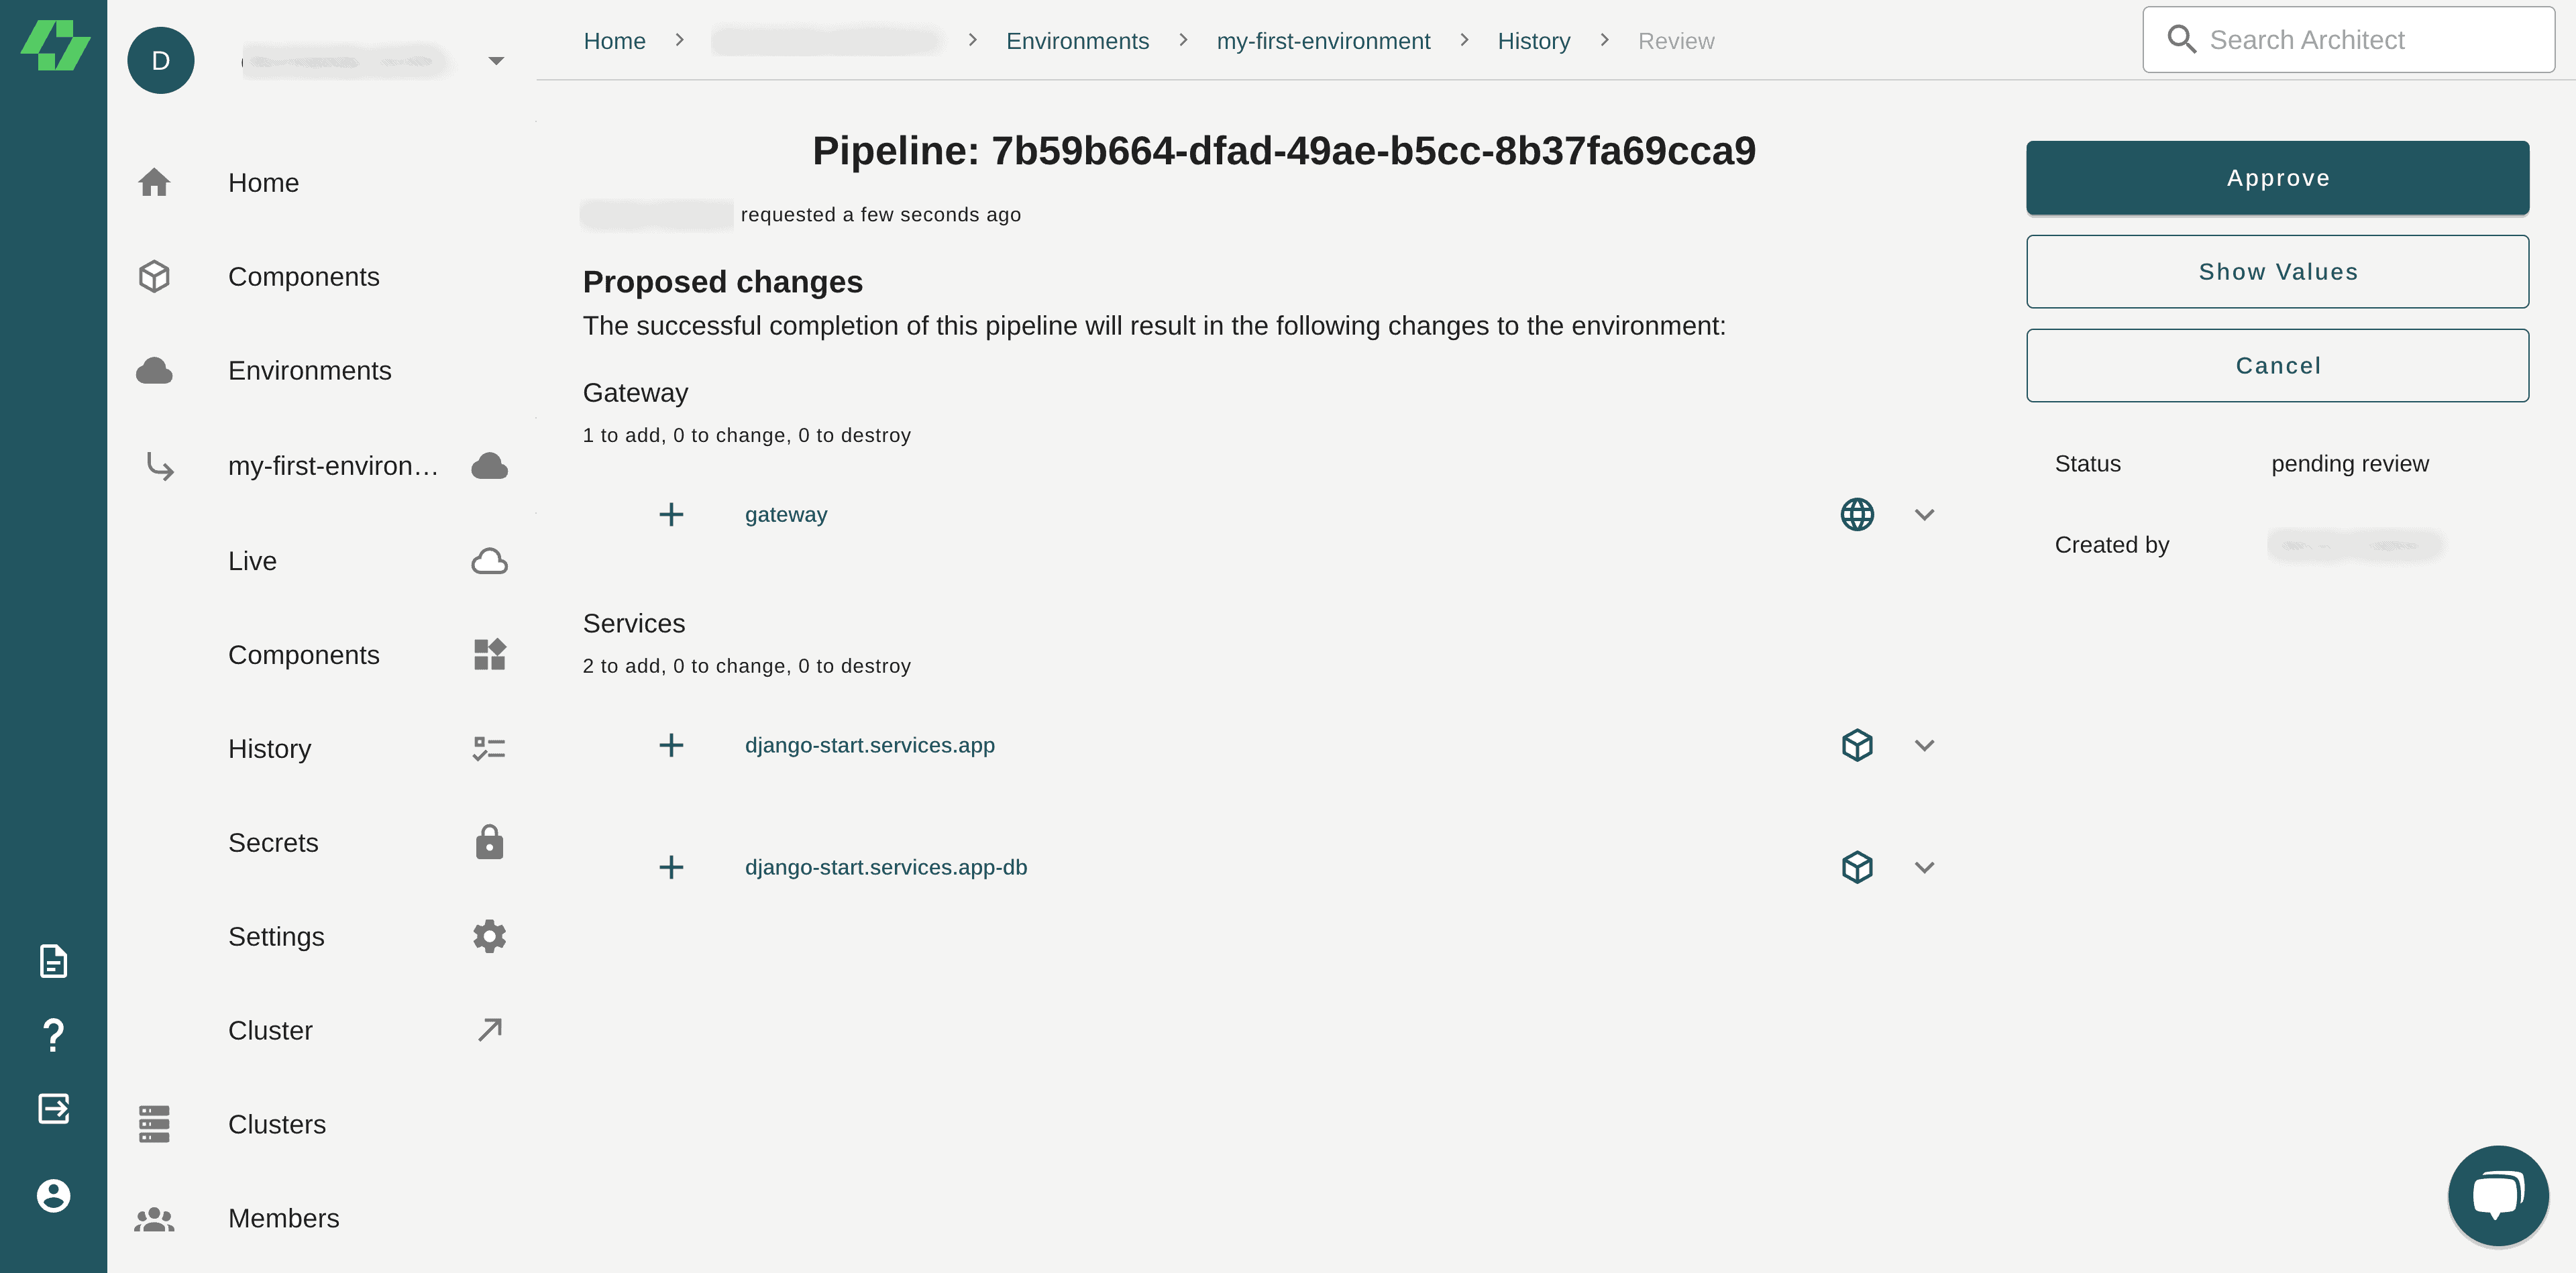
5. The Pipeline approval page looks like the screenshot below. It shows the gateway Architect creates to serve your application using custom URLs. It also shows the services to deploy, including the Django application and its Postgres database. Click Approve in the top-right corner to proceed.
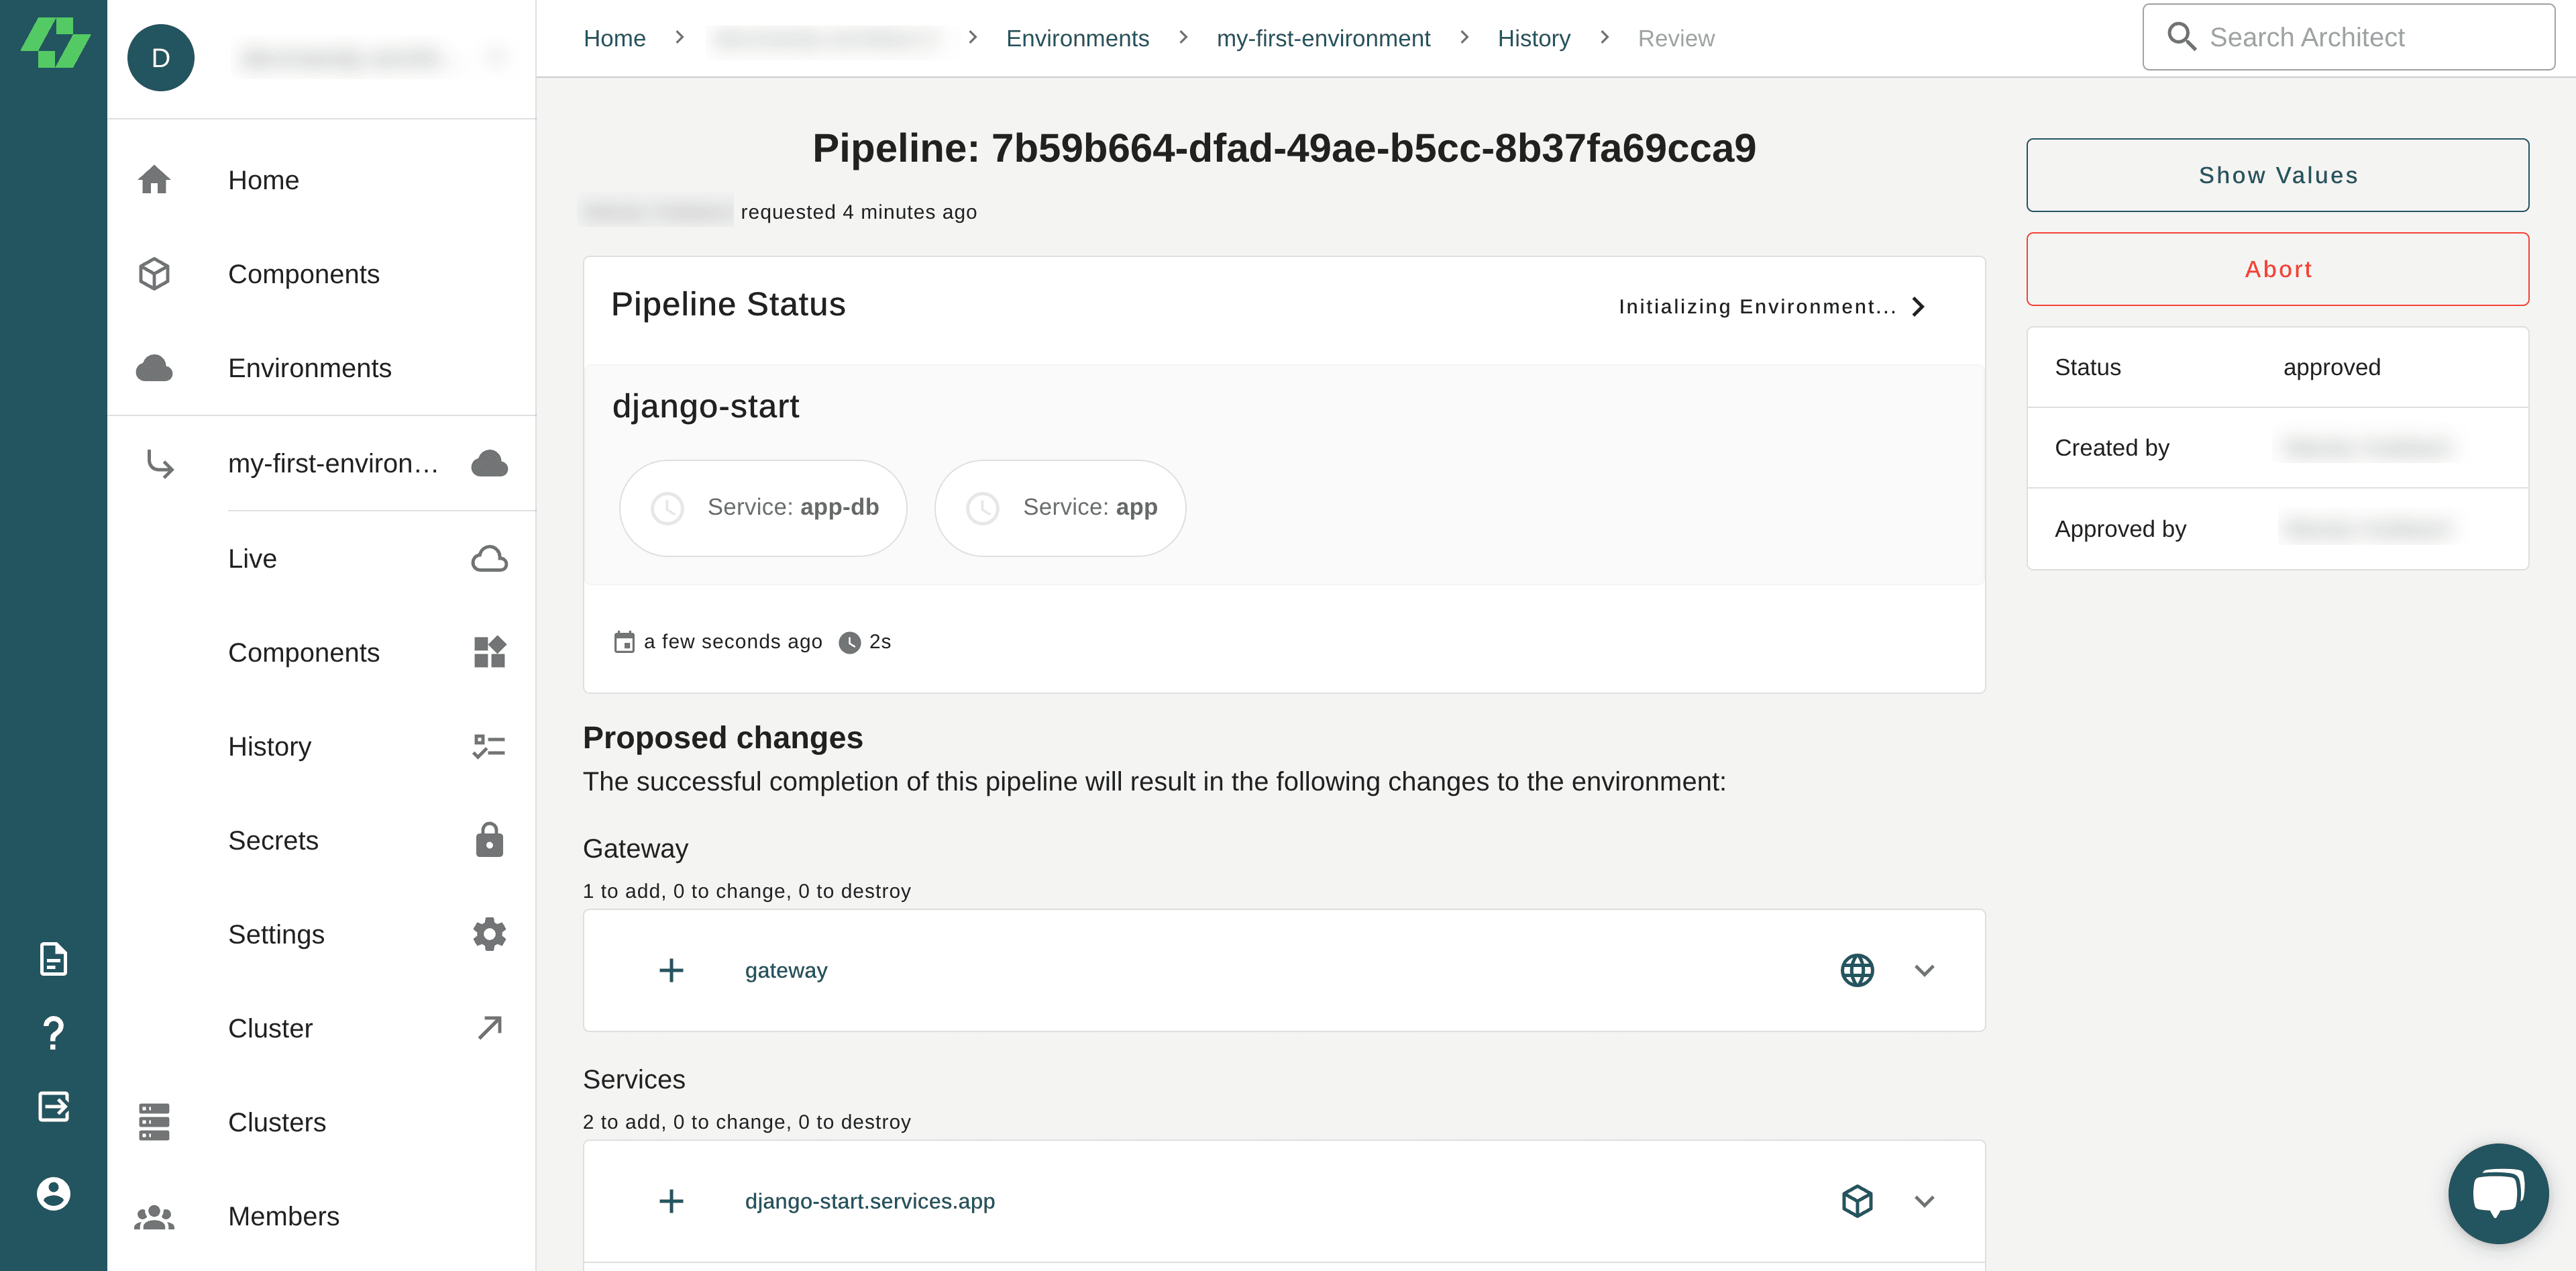
7. Architect displays the Pipeline Status page, which gives you an overview of the state of each deployment step.
8. Wait a few minutes for the deployment to complete. Click the Live link in the left-hand nav for the test environment. You should see the completed pipeline, as shown in the screenshot below:

You can click on the app or app-db component and view any warnings that were encountered during deployment. Under URLs and certificates, you’ll find a URL where you can access your running application. You can also find this by clicking on the gateway icon.
Click on the URL now to launch the application in your web browser. You should see the screenshot below:
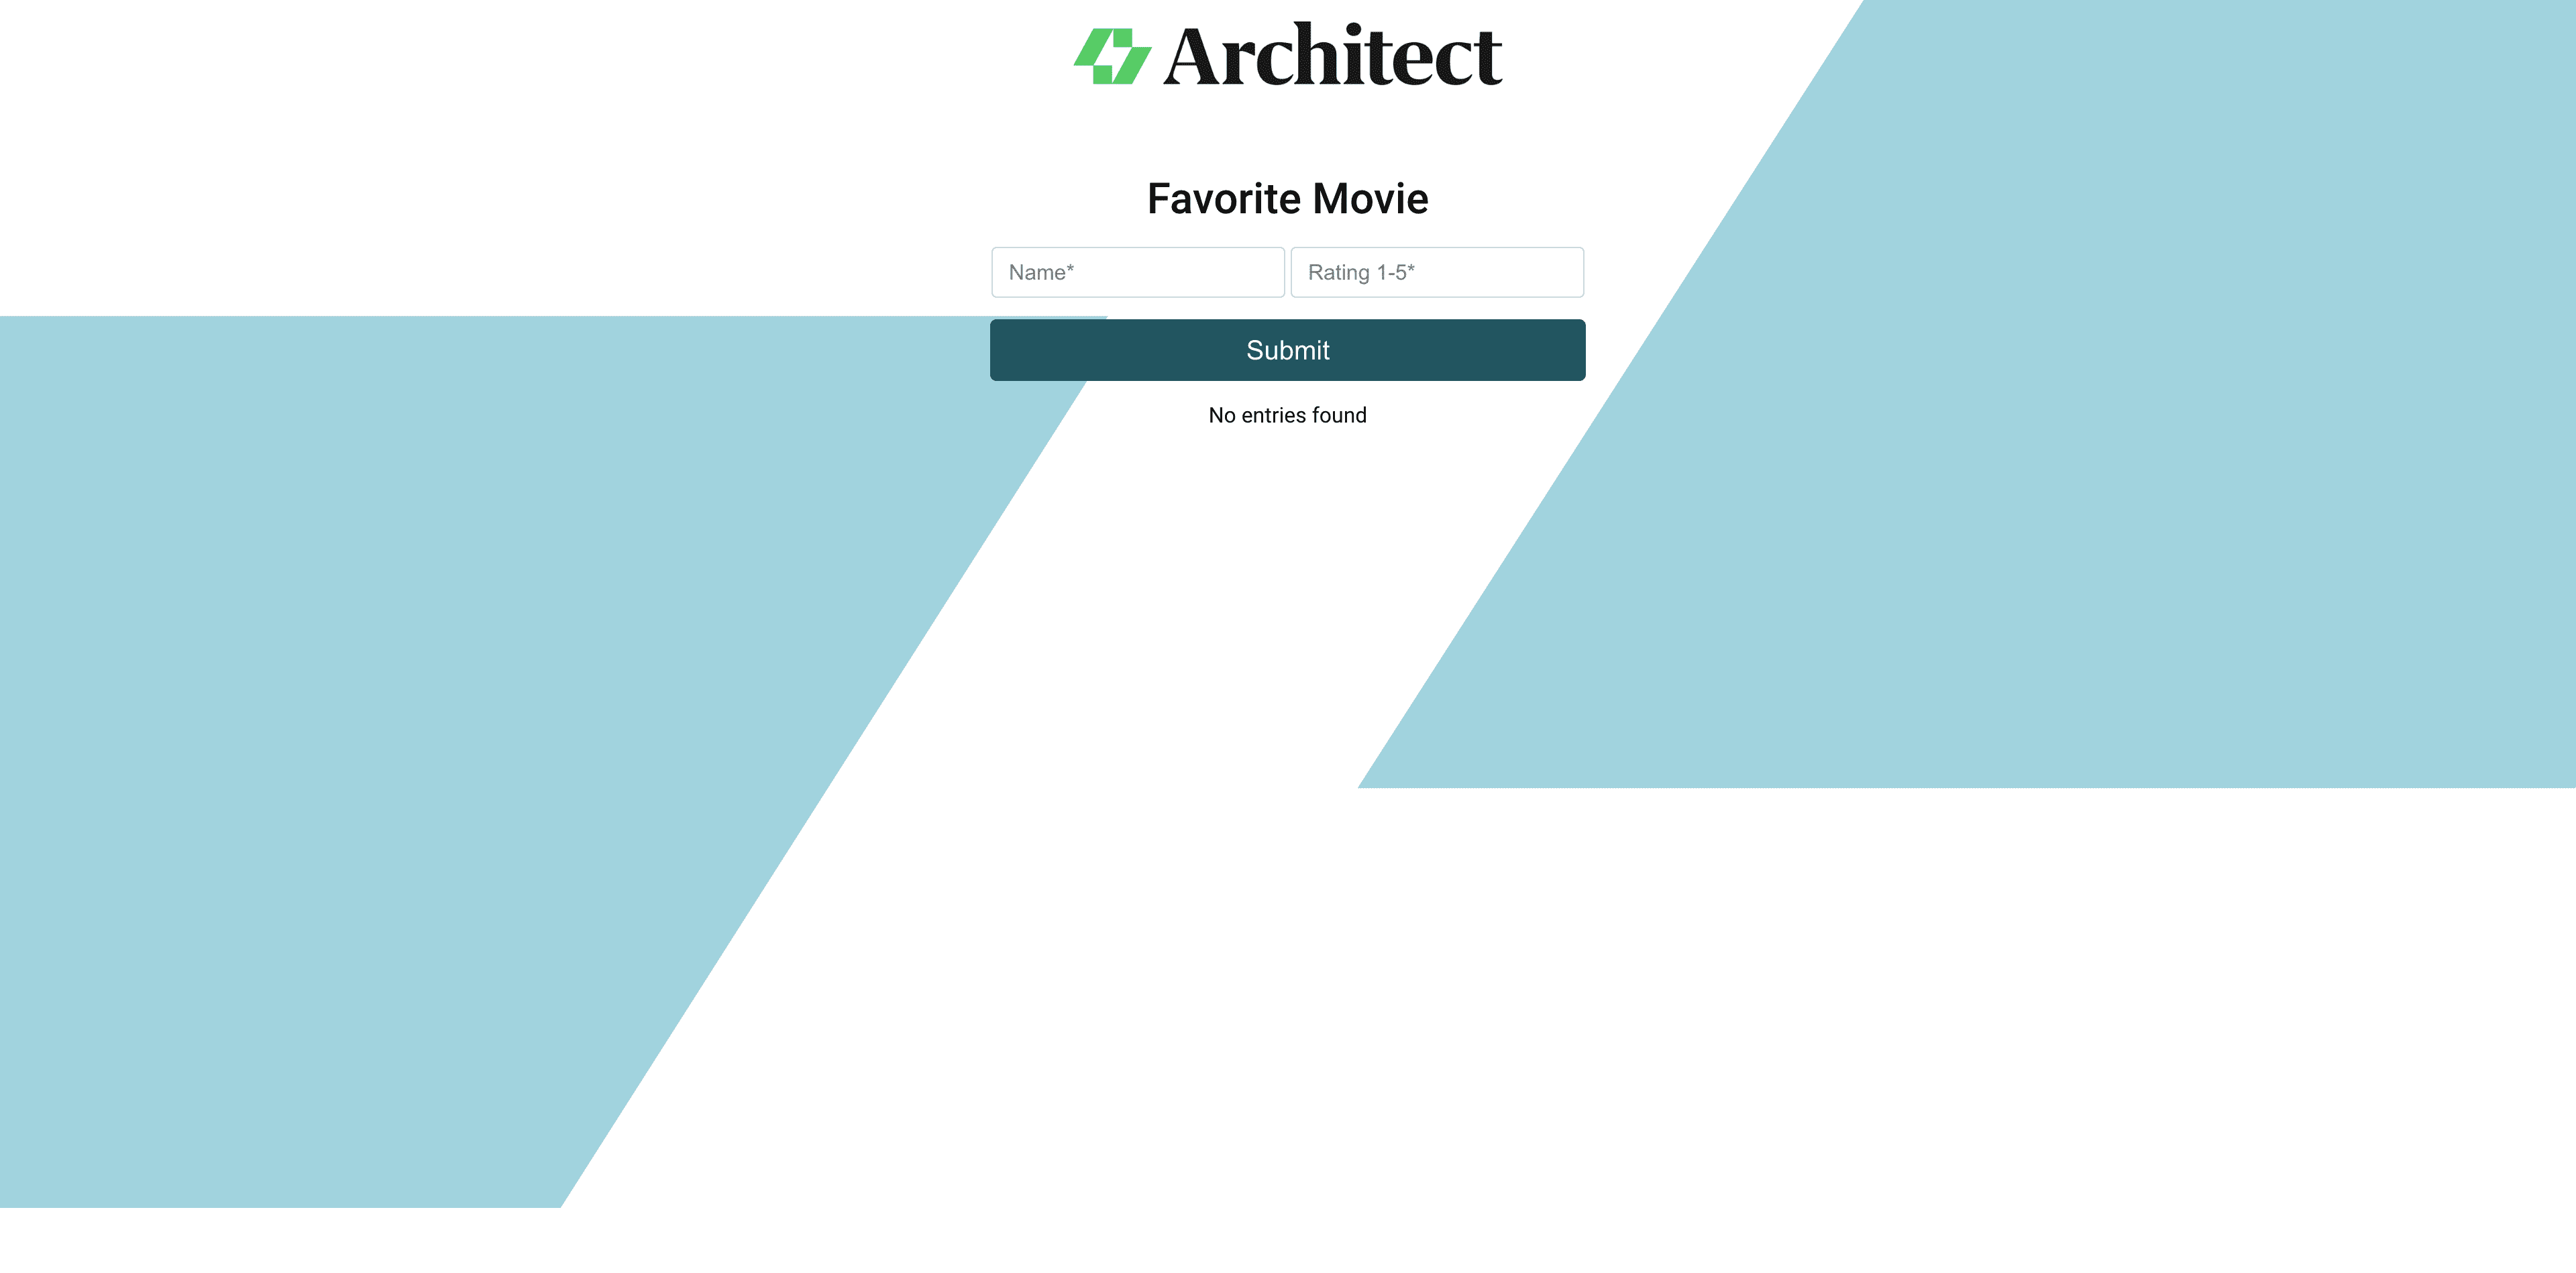
Congratulations! You have successfully deployed your Django application to a Kubernetes cluster with Architect.
Learn more about development best practices
This article shows how fast and painless it is to deploy your Django application with Kubernetes. Connect Architect to your code hosted on GitHub and your Kubernetes cluster from your cloud provider.
Architect deploys your applications with Kubernetes with ease. It helps create a seamless and secure pipeline for integration while offering you logs for visibility and customer support if you encounter challenges. With features like intelligent pipelines, built-in dependency management, and push-button rollbacks, you’ll have a pipeline with all good practices embedded.
Want to learn more development best practices? Check out these other blog posts from Architect:
Add your thoughts